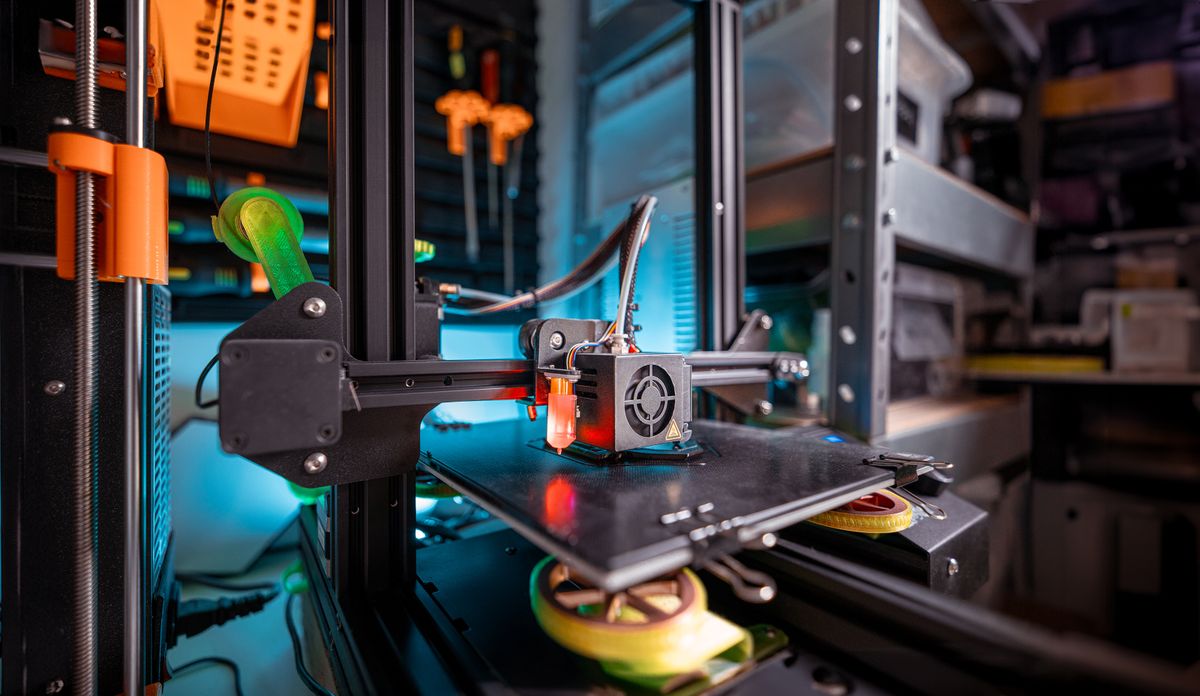
You unbox your new 3D printer, assemble it, load the filament, and hit print. The result? A warped mess stuck to the bed — or worse, a spaghetti pile of plastic. Sound familiar?
Calibration is the step most new 3D printer owners skip, and it is exactly why their first dozen prints fail. A well-calibrated printer is not just more reliable — it produces cleaner surfaces, stronger layer bonds, and near-zero waste. It also saves you filament, time, and frustration.
This guide walks you through every calibration step, in order, with tips specific to Indian conditions — humidity, temperature swings, and the voltage variations that quietly throw off your motors. Whether you are running an Ender-3, a Bambu Lab, or a budget FDM machine from a local reseller, these steps apply.
Why Calibration Gets Skipped — and Why That Is Costly
Manufacturers set factory defaults to work “well enough” for most people, not to work perfectly for your filament, your room temperature, or your use case. A printer straight out of the box might do okay on simple, low-detail prints. But push it on anything with overhangs, fine features, or functional parts, and you will start seeing the gaps.
In India, there are a few extra variables that make calibration more important than in cooler, drier countries:
- Humidity: Monsoon humidity — especially above 70% RH — is absorbed by PLA and PETG fast, causing stringing, bubbling, and weak layer bonds. A calibrated printer at the right temperature handles wet filament better than a sloppy one.
- Room temperature: Ambient temps above 30 degrees Celsius during summer can affect your printer’s stepper drivers and warp PLA parts sitting on the bed too long after printing.
- Voltage variation: Unstable mains voltage (common in many Indian cities and towns) can cause inconsistent stepper motor performance — which shows up as layer shifting and inconsistent extrusion.
Calibrating once sets your baseline. Then you only need to re-check when you change filament brand, nozzle size, or notice quality dropping.
Step 1 — Level Your Print Bed
Bed leveling is the single most impactful calibration step. If your nozzle is too close to the bed, filament gets squished and will not adhere properly. Too far away, and it will not stick at all. You want the nozzle at exactly the right height — close enough to create a tight first layer, with a tiny gap you can barely slide a piece of paper through.
Manual Bed Leveling
- Heat your nozzle to printing temperature (e.g., 200C for PLA) and your bed to 60C. Always level hot — cold beds behave differently.
- Home all axes (use your printer menu home button or run
G28in the console). - Disable stepper motors so you can move the print head by hand.
- Move the nozzle to each corner of the bed (front-left, front-right, rear-left, rear-right) and the centre.
- At each point, slide a piece of A4 paper under the nozzle. Adjust the bed knob until you feel slight resistance — the paper should drag lightly, not be stuck or slide freely.
- Repeat the loop 2-3 times until every corner is consistent.
Auto Bed Leveling (BLTouch / CRTouch)
If your printer has a BLTouch or CRTouch probe, manual leveling becomes much easier — the probe measures multiple points across the bed and compensates electronically. Run G29 after homing to trigger a mesh level. Save the mesh with M500. You still need a correct Z-offset (see Step 2), but the mesh handles any warp in your bed surface.
Step 2 — Dial In Your Z-Offset
The Z-offset is the distance between your nozzle and the bed at the home position. Even with perfect bed leveling, a wrong Z-offset ruins your first layer. This is especially true for auto-leveling printers, where the probe height does not automatically match the nozzle height.
How to set it:
- Go to your printer menu: Motion then Z Offset (or the equivalent in your firmware).
- Print a single-layer calibration square (many slicers include this, or use a G-code test file).
- Watch the first layer. If it looks like a squished ribbon — reduce the offset (move nozzle further from bed). If strands are not sticking or there are gaps — increase it (move nozzle closer).
- Adjust in 0.05mm increments. Save after each adjustment. Keep going until the first layer is flat, fully bonded, and smooth.
A correct first layer should have no visible gaps between lines and a slight gloss from compression.
Step 3 — Calibrate Your Extruder (E-Steps)
E-steps (steps per millimetre) tell your printer how many motor steps equal 1mm of filament extruded. If this number is off, your printer will consistently over- or under-extrude — meaning every single print will have too much or too little plastic.

To calibrate E-steps:
- Mark your filament 100mm from the entry point of the extruder with a marker or tape.
- In your slicer or terminal, command the printer to extrude exactly 100mm:
G1 E100 F100 - Measure how much filament actually moved. If your mark shifted 98mm instead of 100mm, you are under-extruding by 2%.
- Calculate the corrected E-steps: New E-steps = (Current E-steps x 100) divided by Actual mm extruded
- Set the new value with
M92 E[value]and save withM500. - Repeat until you are within plus or minus 1mm of the target.
Most factory Ender-3 printers ship with an E-step value around 93 steps/mm, but direct drive upgrades and different extruder arms can shift this significantly. Always verify after any hardware change.
Step 4 — Fine-Tune Retraction Settings
Retraction controls how much the extruder pulls back filament when travelling between printed areas. Too little retraction means strings and blobs. Too much means clogs and gaps. Getting this right makes a dramatic difference on detailed models.
Recommended starting points:
- Bowden setup (e.g., Ender-3 stock): 5-7mm retraction at 40-60mm/s
- Direct drive setup: 0.5-2mm retraction at 25-45mm/s
Print a retraction test tower (available on Thingiverse or Printables) and increment retraction distance by 0.5mm per segment. Note which segment produces the cleanest result — that is your number. Do the same test for retraction speed.
In India’s humidity, wet filament produces more stringing than dry filament regardless of retraction settings. If you have tried everything and still see strings, dry your filament first (oven at 50C for 4-6 hours, or a dedicated filament dryer), then re-tune retraction from scratch.
Step 5 — Print a Calibration Test Cube
Once you have completed Steps 1-4, print a 20mm calibration cube and measure it with digital calipers. A well-calibrated printer should produce a cube within 0.2mm of target dimensions on all three axes.
What to look for:
- X/Y dimensions off: May indicate steps/mm values need adjustment for X/Y axes (rare, but possible after belt changes)
- Z height off: Z-steps need calibration or you have inconsistent layer height
- Walls too thick or thin: Flow rate (extrusion multiplier) needs adjustment — try 95-105% in your slicer
- Rough top surface: Insufficient top layers or flow rate too high
Run this test every time you switch to a new filament brand — different brands have slightly different tolerances and optimal temperatures.
Quick Calibration Checklist
- Bed leveled at printing temperature
- Z-offset set — first layer looks compressed and glossy
- E-steps verified — extruding within 1mm of commanded length
- Retraction tested — no visible stringing on retraction tower
- 20mm calibration cube printed — dimensions within 0.2mm of target
- Filament stored dry in a sealed container with silica gel
First-time calibration takes 2-3 hours. After that, a quick re-check takes 20 minutes — and you will need to do it far less often as you get dialled in.
Skip the Setup — Order from a Pro on JustPrint
If you would rather skip the calibration grind and get a high-quality print delivered to your door, JustPrint connects you with verified 3D printing makers across India. Upload your STL, choose your material and finish, and get it delivered — no printer, no calibration, no wasted filament.