You’ve spent hours in Tinkercad or Fusion 360 getting your model just right. You hit slice, send it to print, and — the wall collapses, the hinge doesn’t move, or the overhang droops into a stringy mess. Nine times out of ten, it’s not a bad printer or a bad slicer profile. It’s the design.
3D printing isn’t like drawing on paper — every wall, overhang, and gap has to survive gravity, heat, and a nozzle moving in real time. The good news: once you know the handful of rules that actually matter, you can design parts that print clean on the first try, whether you’re making a phone stand or a functional gear assembly.
Here’s what every beginner in India’s maker scene should know before hitting “slice” again.
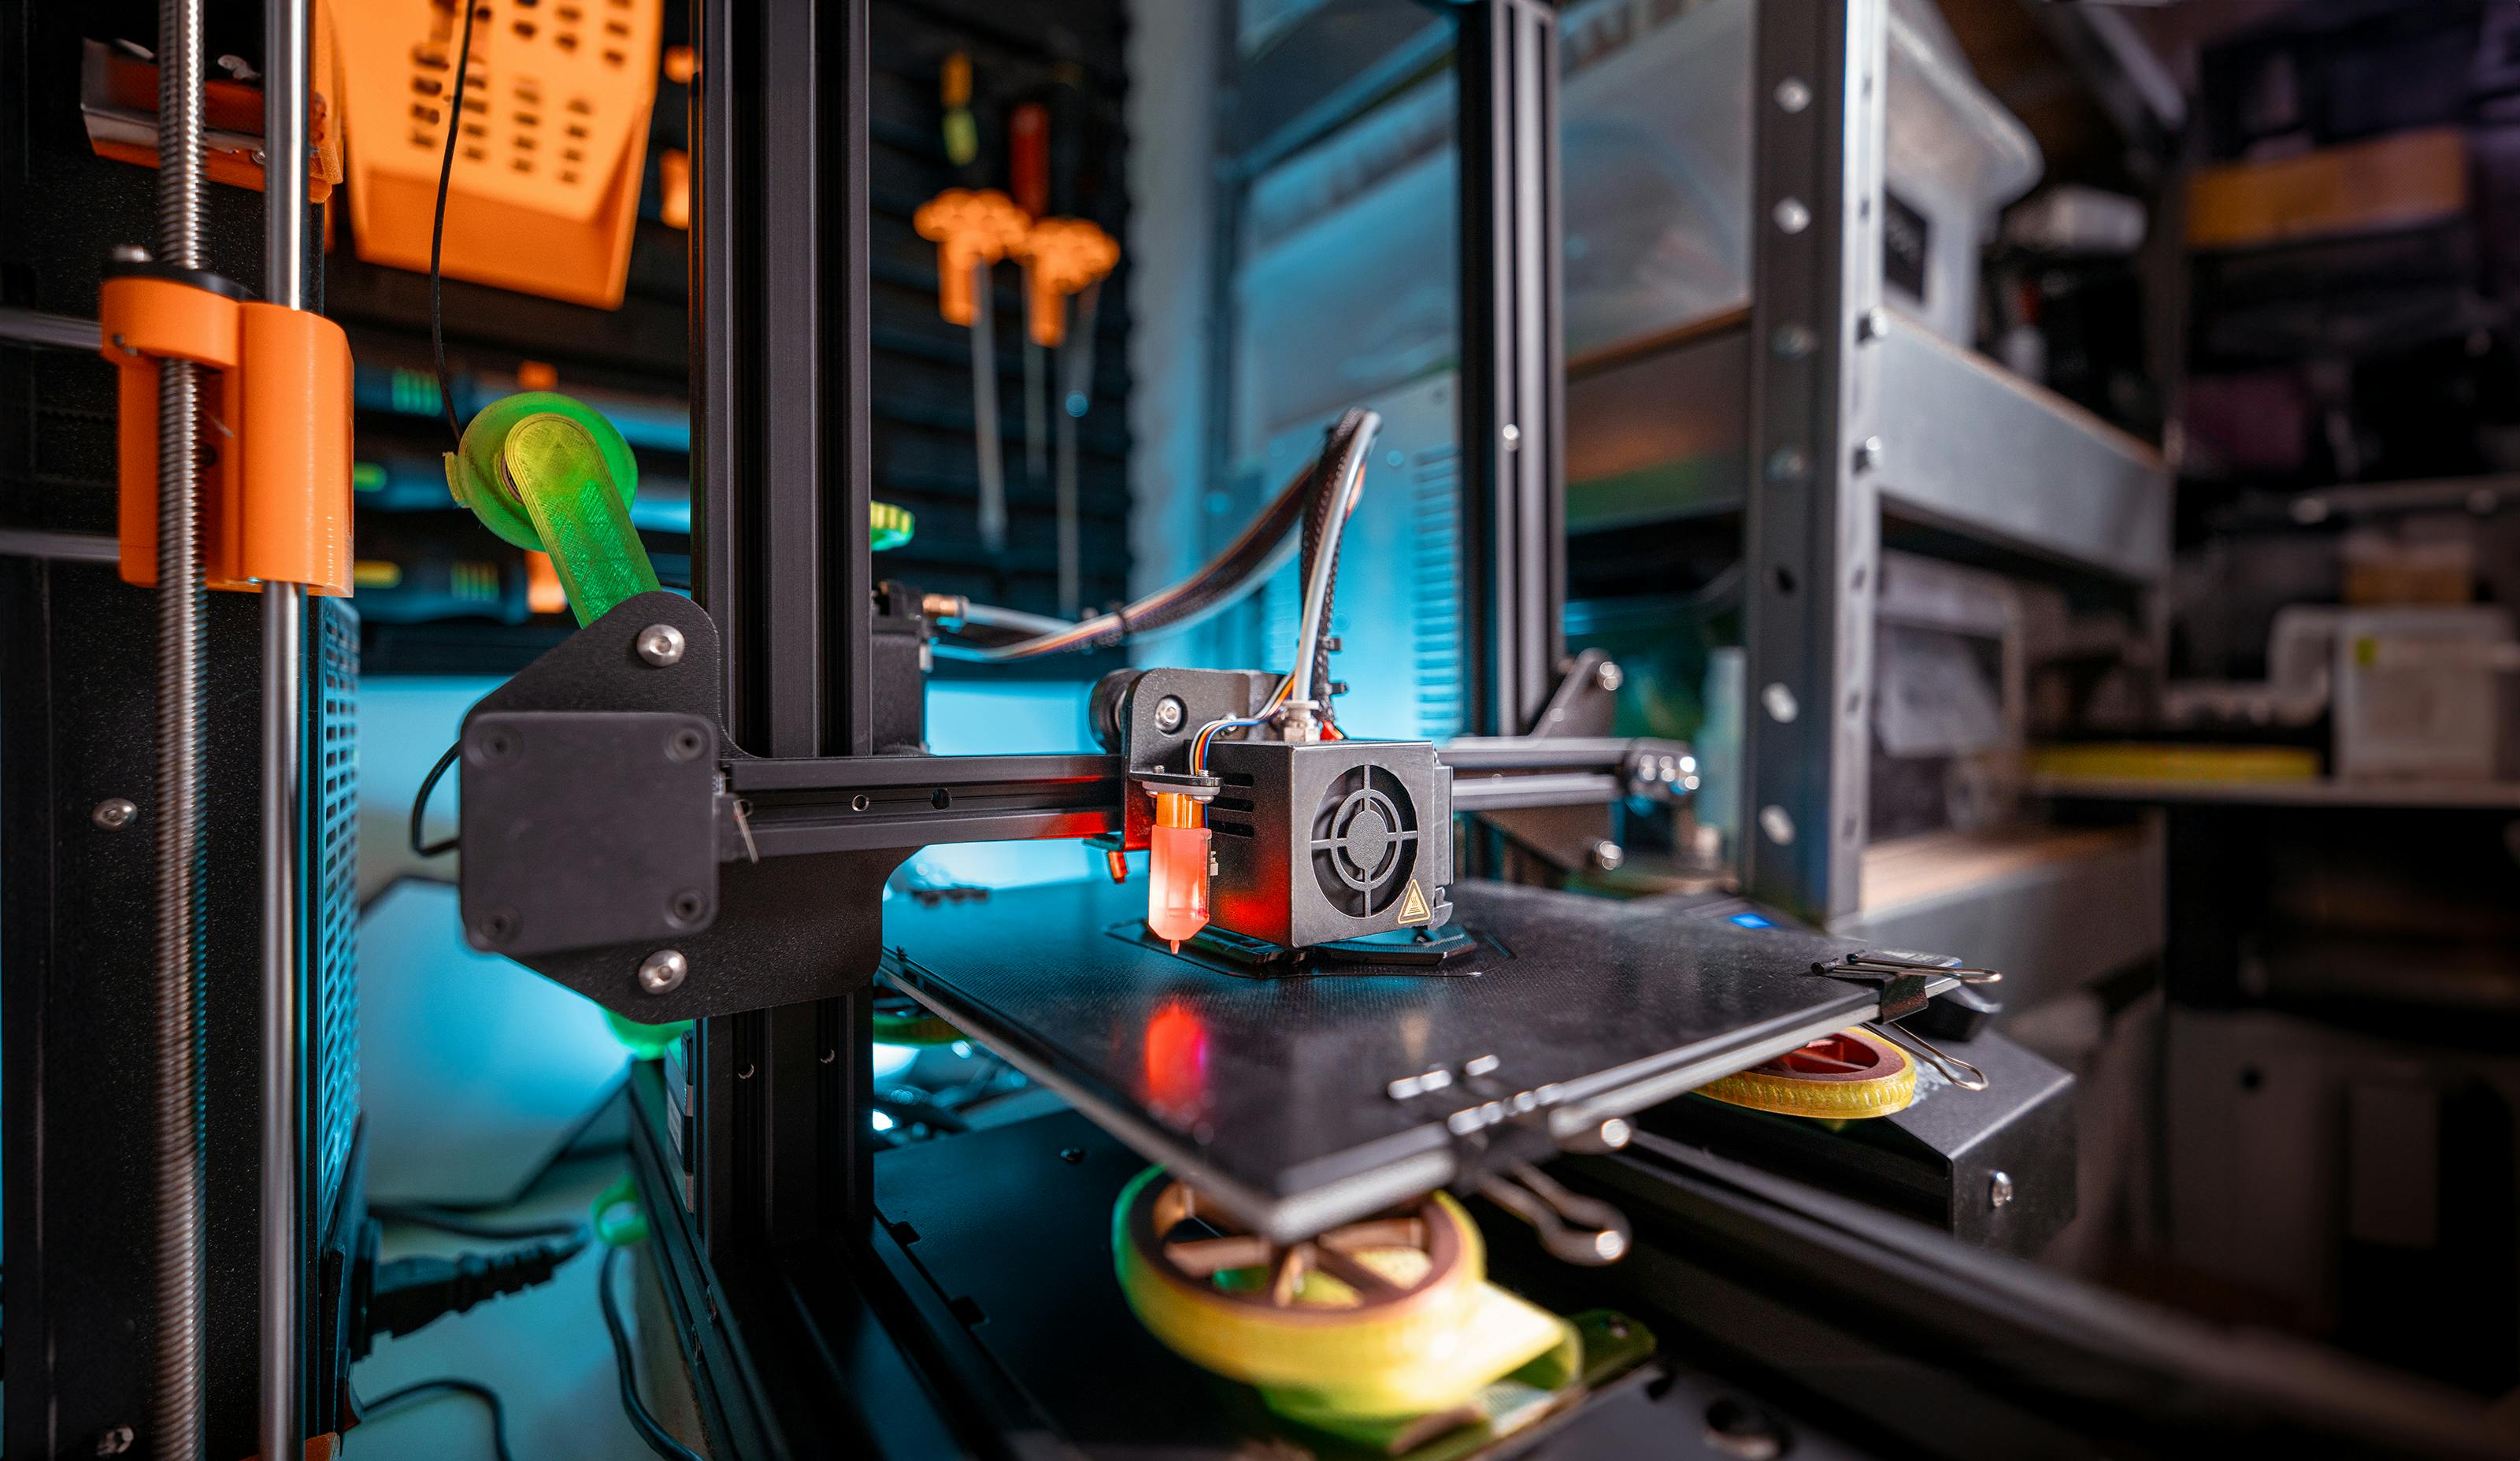
Rule 1: Respect the Minimum Wall Thickness
The single most common reason a print fails isn’t warping or adhesion — it’s a wall that’s too thin for the printer to even lay down properly.
- FDM (PLA/ABS/PETG): Keep walls at least 1.2mm, and ideally 2mm+ for anything load-bearing. A 0.4mm nozzle needs at least 2-3 passes to build a solid wall — anything thinner comes out weak or full of gaps.
- Resin (SLA/DLP): You can go thinner, down to 0.6-0.8mm, since resin printers work at a much finer resolution. But thin resin walls are brittle, so add thickness anywhere the part will be handled.
Rule of thumb: if a wall looks thin enough to see through in your CAD software, it’s too thin to print reliably.
Rule 2: Overhangs Have a Limit — The 45° Rule
Every FDM printer struggles with overhangs, because plastic doesn’t like being extruded into thin air. As a rule:
- Overhangs up to 45° from vertical print fine without support.
- Beyond 45°, you’ll see sagging, stringing, or a rough underside — unless you add supports or redesign the part.
- Bridges (horizontal gaps between two points) print better than steep overhangs, especially if kept under 40-50mm.
If your design has a shape that needs a steep overhang — say, an arm sticking out sideways — consider splitting the model into two parts and gluing them together after printing, oriented so each half prints upright. It’s a small design change that saves you from a pile of support material and a rough surface finish.

Rule 3: Build In Tolerance for Moving and Assembled Parts
If your design has two parts that need to fit together — a lid and a box, a shaft and a bearing, a hinge pin — you cannot design them to the exact same dimension and expect them to fit. 3D printers aren’t that precise, and plastic shrinks slightly as it cools.
- Press fit (snug, no glue): add 0.1-0.2mm clearance per side.
- Sliding fit (parts move against each other): add 0.3-0.5mm clearance per side.
- Loose fit (hinges, rotating parts): add 0.5mm or more, and consider printing a test piece first to dial in the exact gap for your printer.
Every printer is slightly different, so if you’re designing something with tight fits, print a small calibration piece with a few tolerance options before committing to the full part.
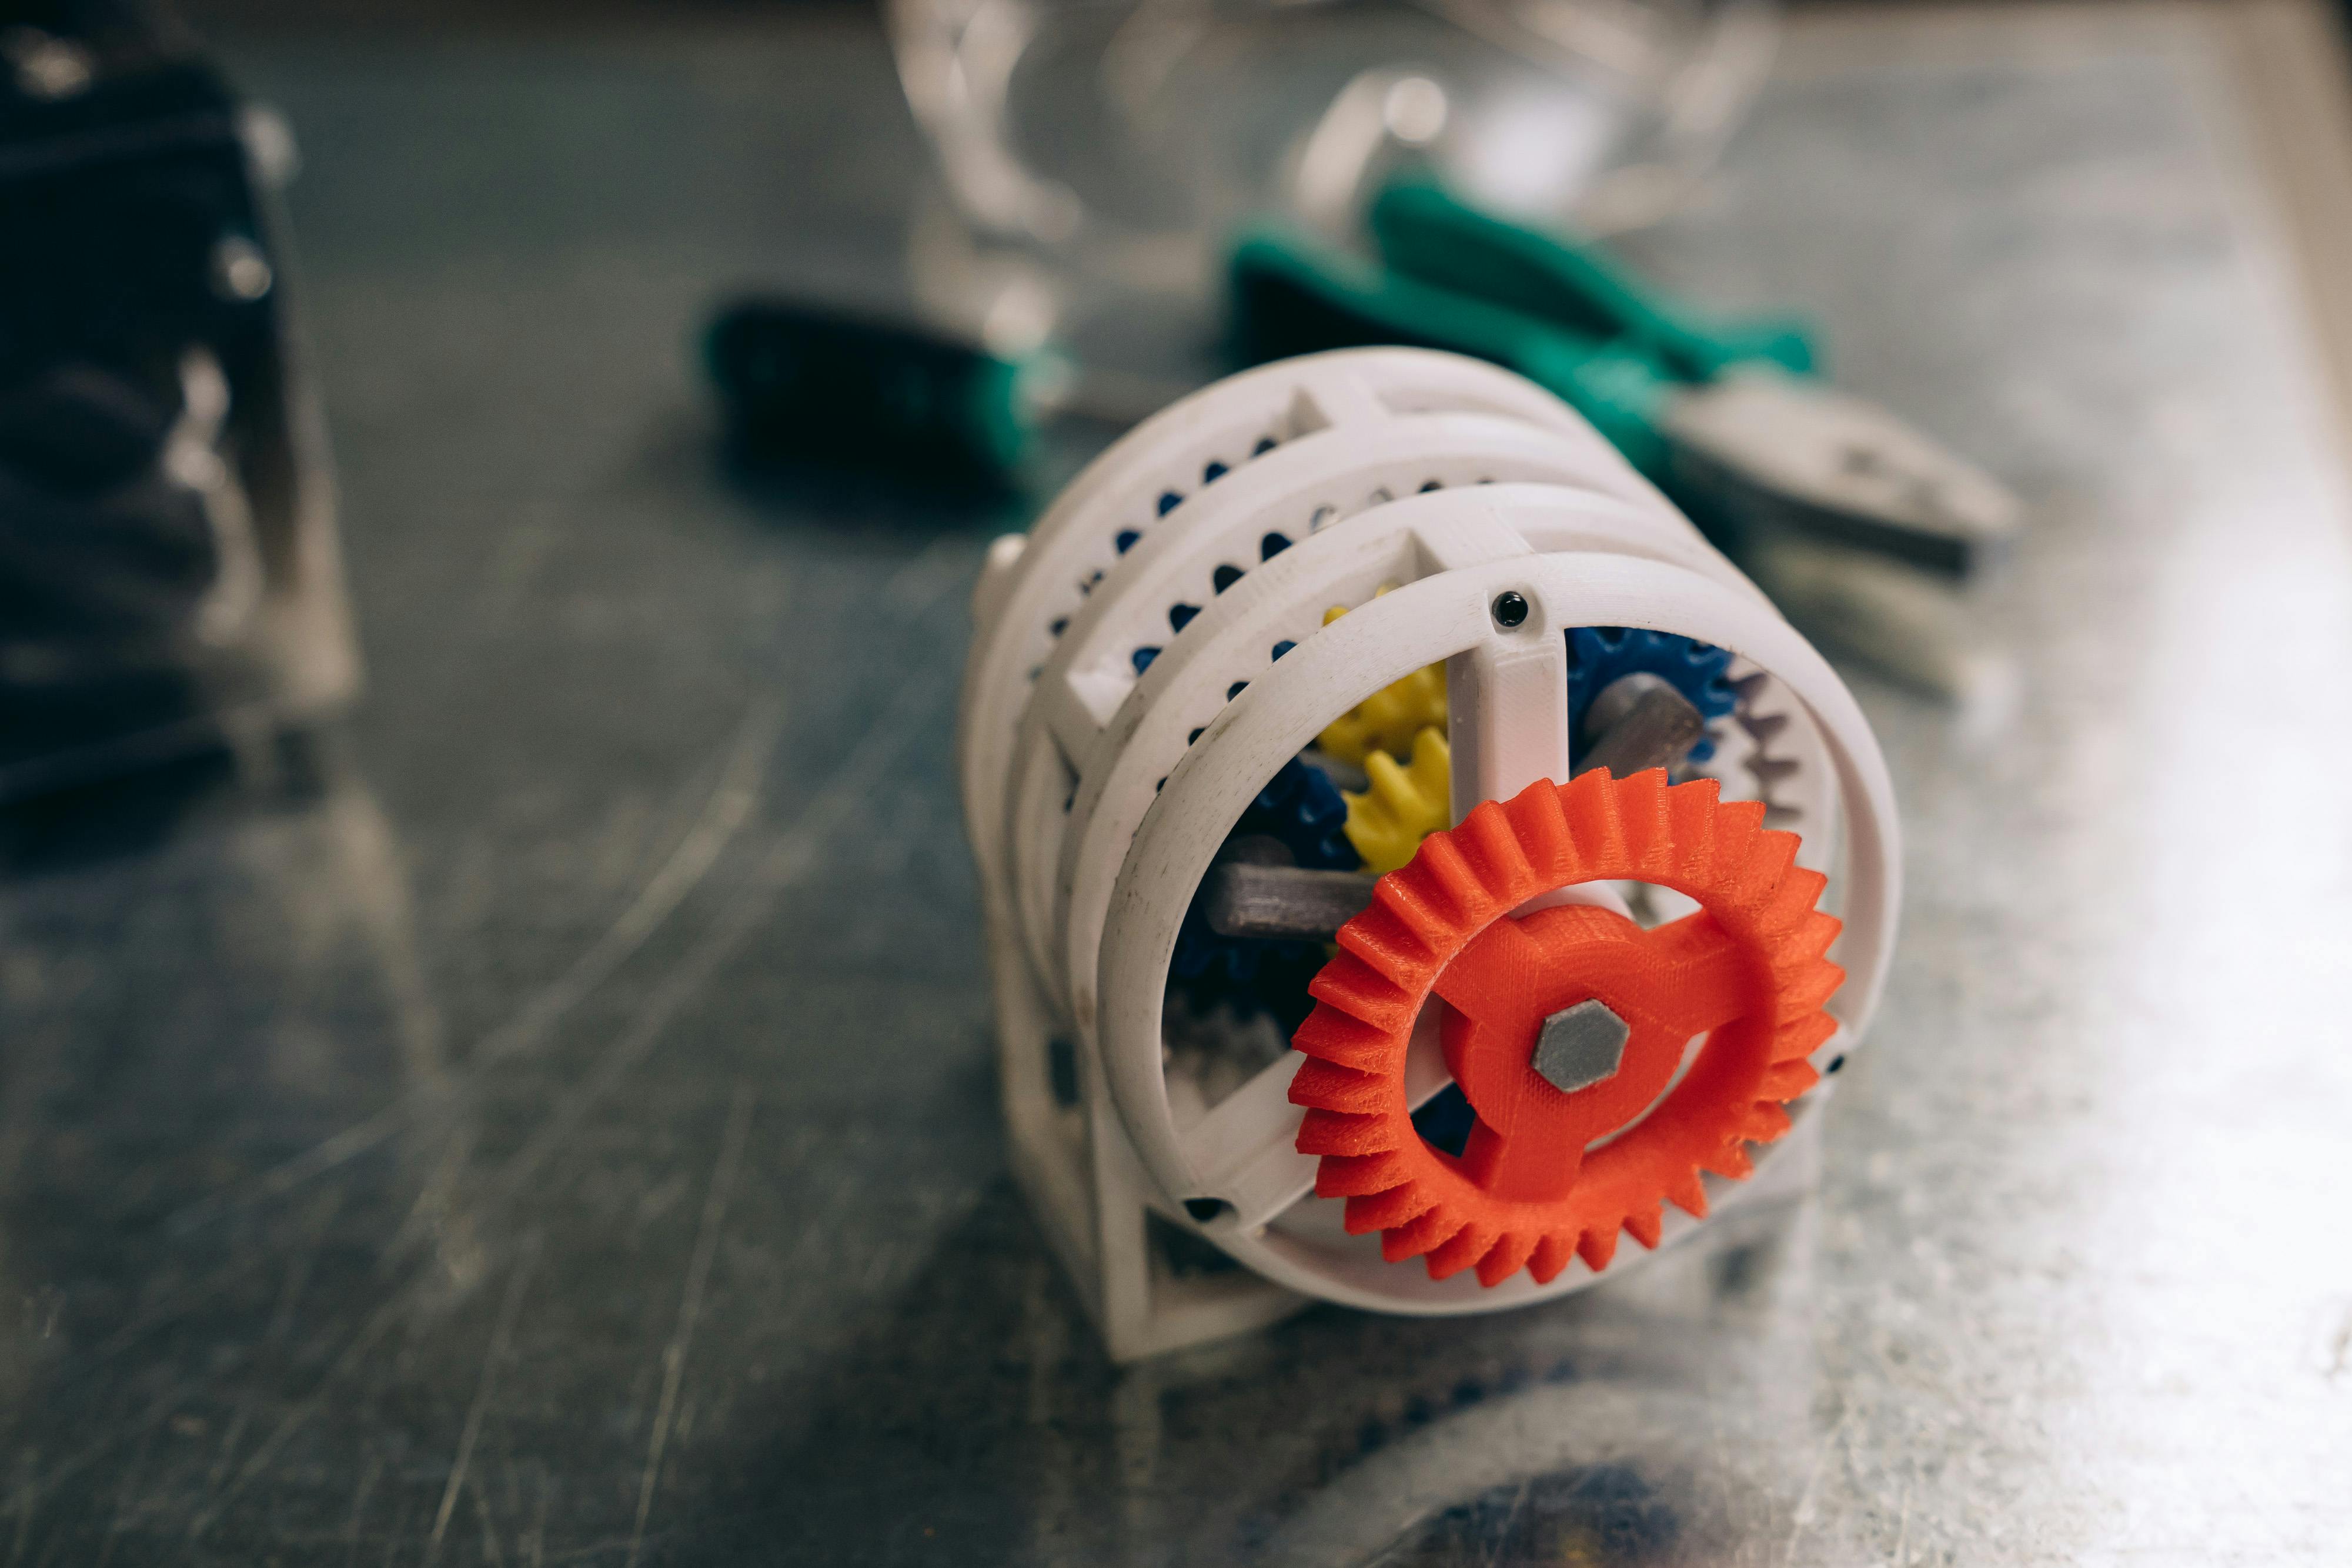
Rule 4: Skip the Fine Detail That Printers Can’t Resolve
Tiny text, thin engraved logos, and delicate lattice patterns look great on screen but often vanish or turn into a blob once printed.
- Keep embossed or engraved text at least 0.4-0.6mm deep for FDM, and make letters at least 3-4mm tall.
- Avoid features smaller than your nozzle diameter (typically 0.4mm) — the printer physically cannot resolve them.
- Resin printing can capture much finer detail, so if your design leans on intricate features, resin may be the better process — worth checking our FDM vs Resin guide before you commit to a process.
Rule 5: Orientation Changes Strength, Not Just Looks
3D printed parts are strongest along the layer lines and weakest across them — a print will snap much more easily perpendicular to its layers than along them. Before you finalize a design, think about how the part will be loaded in real use:
- Orient load-bearing walls so the force runs along the layers, not across them.
- For parts under repeated stress (brackets, clips, hooks), avoid designing thin features that will sit perpendicular to the build plate.
- When in doubt, print a small prototype and test it under real load before scaling up to a full production run.
When Design Isn’t Your Thing, Let Someone Else Handle It
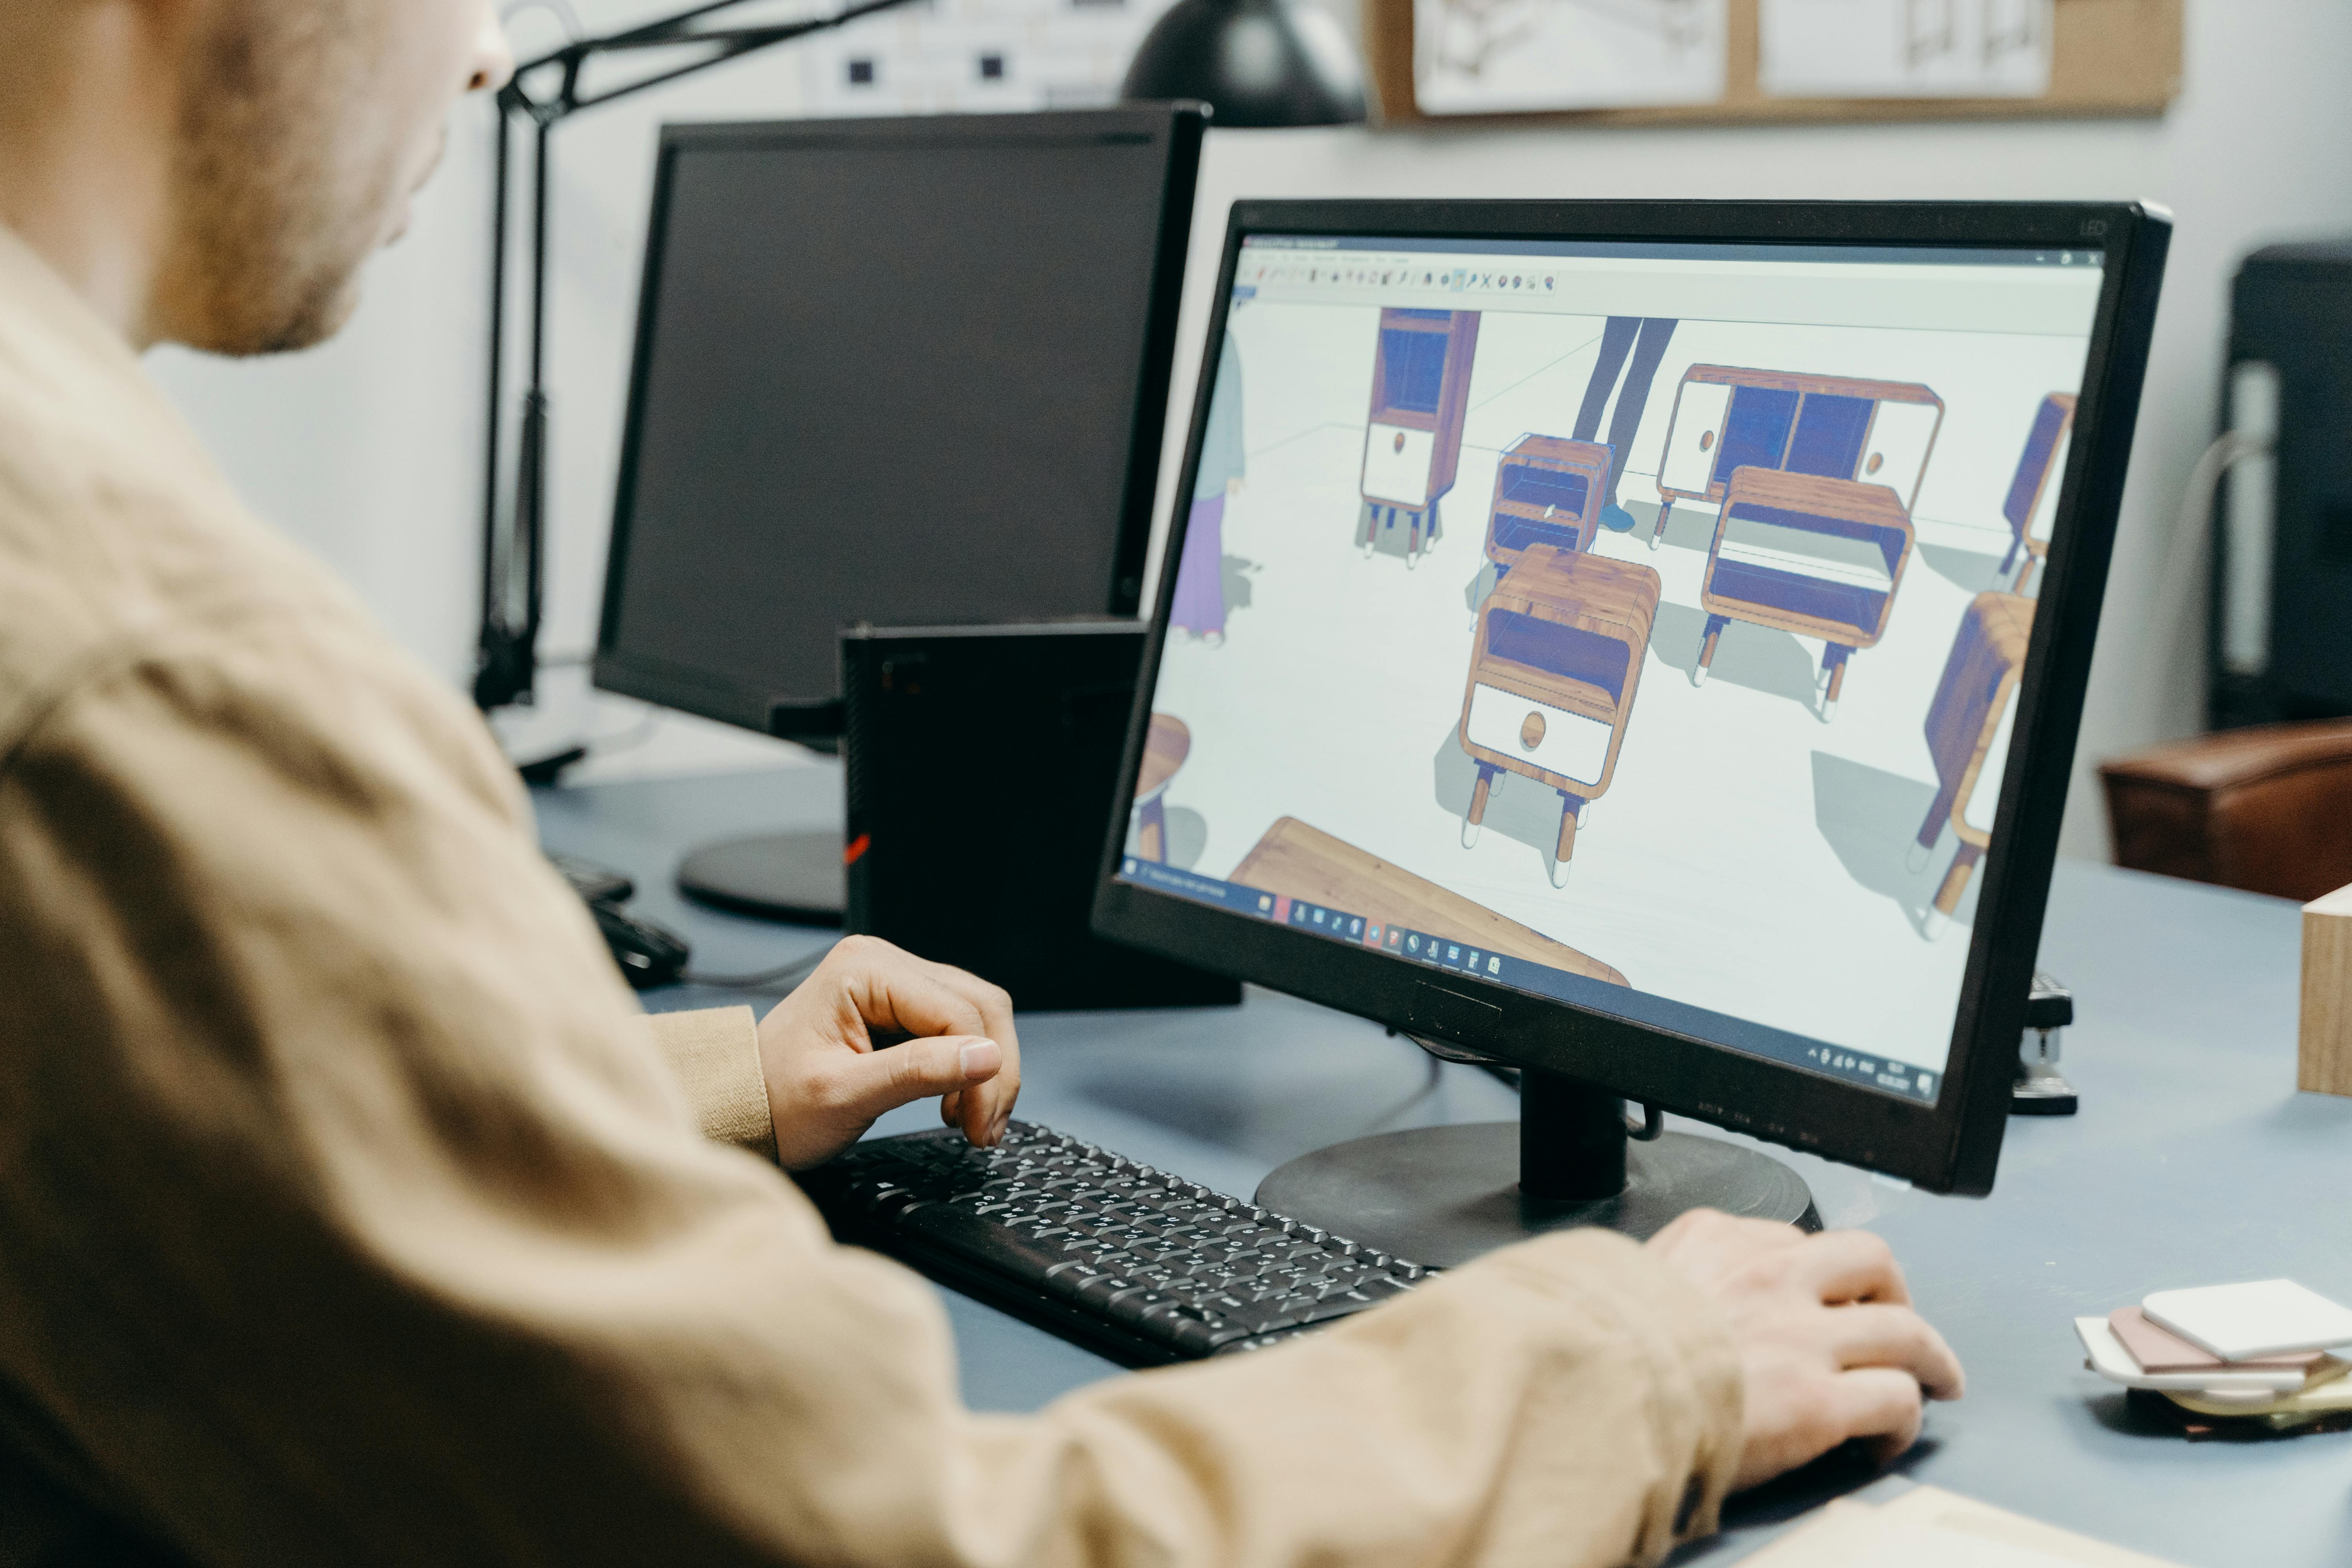
Not every maker wants to become a CAD expert, and that’s completely fine — the whole point of a marketplace is that you don’t have to do everything yourself. If you’ve got a product idea but no time (or patience) to learn wall thickness rules and tolerance charts, JustPrint’s design service can take your sketch, reference photo, or rough idea and turn it into a print-ready file that follows all of these rules automatically.
That’s one of the three ways makers use JustPrint: get something designed by our team, get it printed through our network, or list your own designs for others to order. You don’t need to master every rule in this post to get a great result — you just need to know they exist so you can ask the right questions.
Design Once, Print Right
Most failed prints trace back to one of these five issues: walls too thin, overhangs too steep, tolerances too tight, details too fine, or orientation working against the part’s strength. Fix the design, and the printer usually cooperates.
Ready to turn your design into a real, printed product? Head to JustPrint.io to upload your file, get expert design help, or list your creation on our storefront — built for makers across India.