A 3D printer is a machine, and like any machine, it drifts out of tune the moment you stop paying attention to it. Bowden tubes clog. Belts loosen. Dust settles into linear rails. In most of India, you’re also fighting heat, humidity, and dust levels that printer manufacturers in Germany or China never designed for — which means Indian makers need to maintain more often, not less.
The good news: printer maintenance isn’t complicated. It’s mostly small, five-minute habits done on a schedule. Skip them and you’ll eventually pay for it in failed prints, warped parts, or a seized extruder motor mid-order. This checklist breaks the work into weekly, monthly, and yearly tasks so you always know what’s due.
Why Maintenance Matters More in India
Three local factors shorten printer lifespan faster here than in cooler, drier climates:
- Dust — settles on linear rails, lead screws, and cooling fans, turning into a grinding paste when it mixes with lubricant.
- Humidity — swells filament, corrodes exposed metal contacts, and can fog up optical endstop sensors.
- Voltage fluctuation — power cuts and spikes stress stepper drivers and mainboards, especially without a stabilizer.
None of this means your printer is fragile. It means the maintenance schedule below isn’t optional busywork — it’s what keeps your machine profitable.
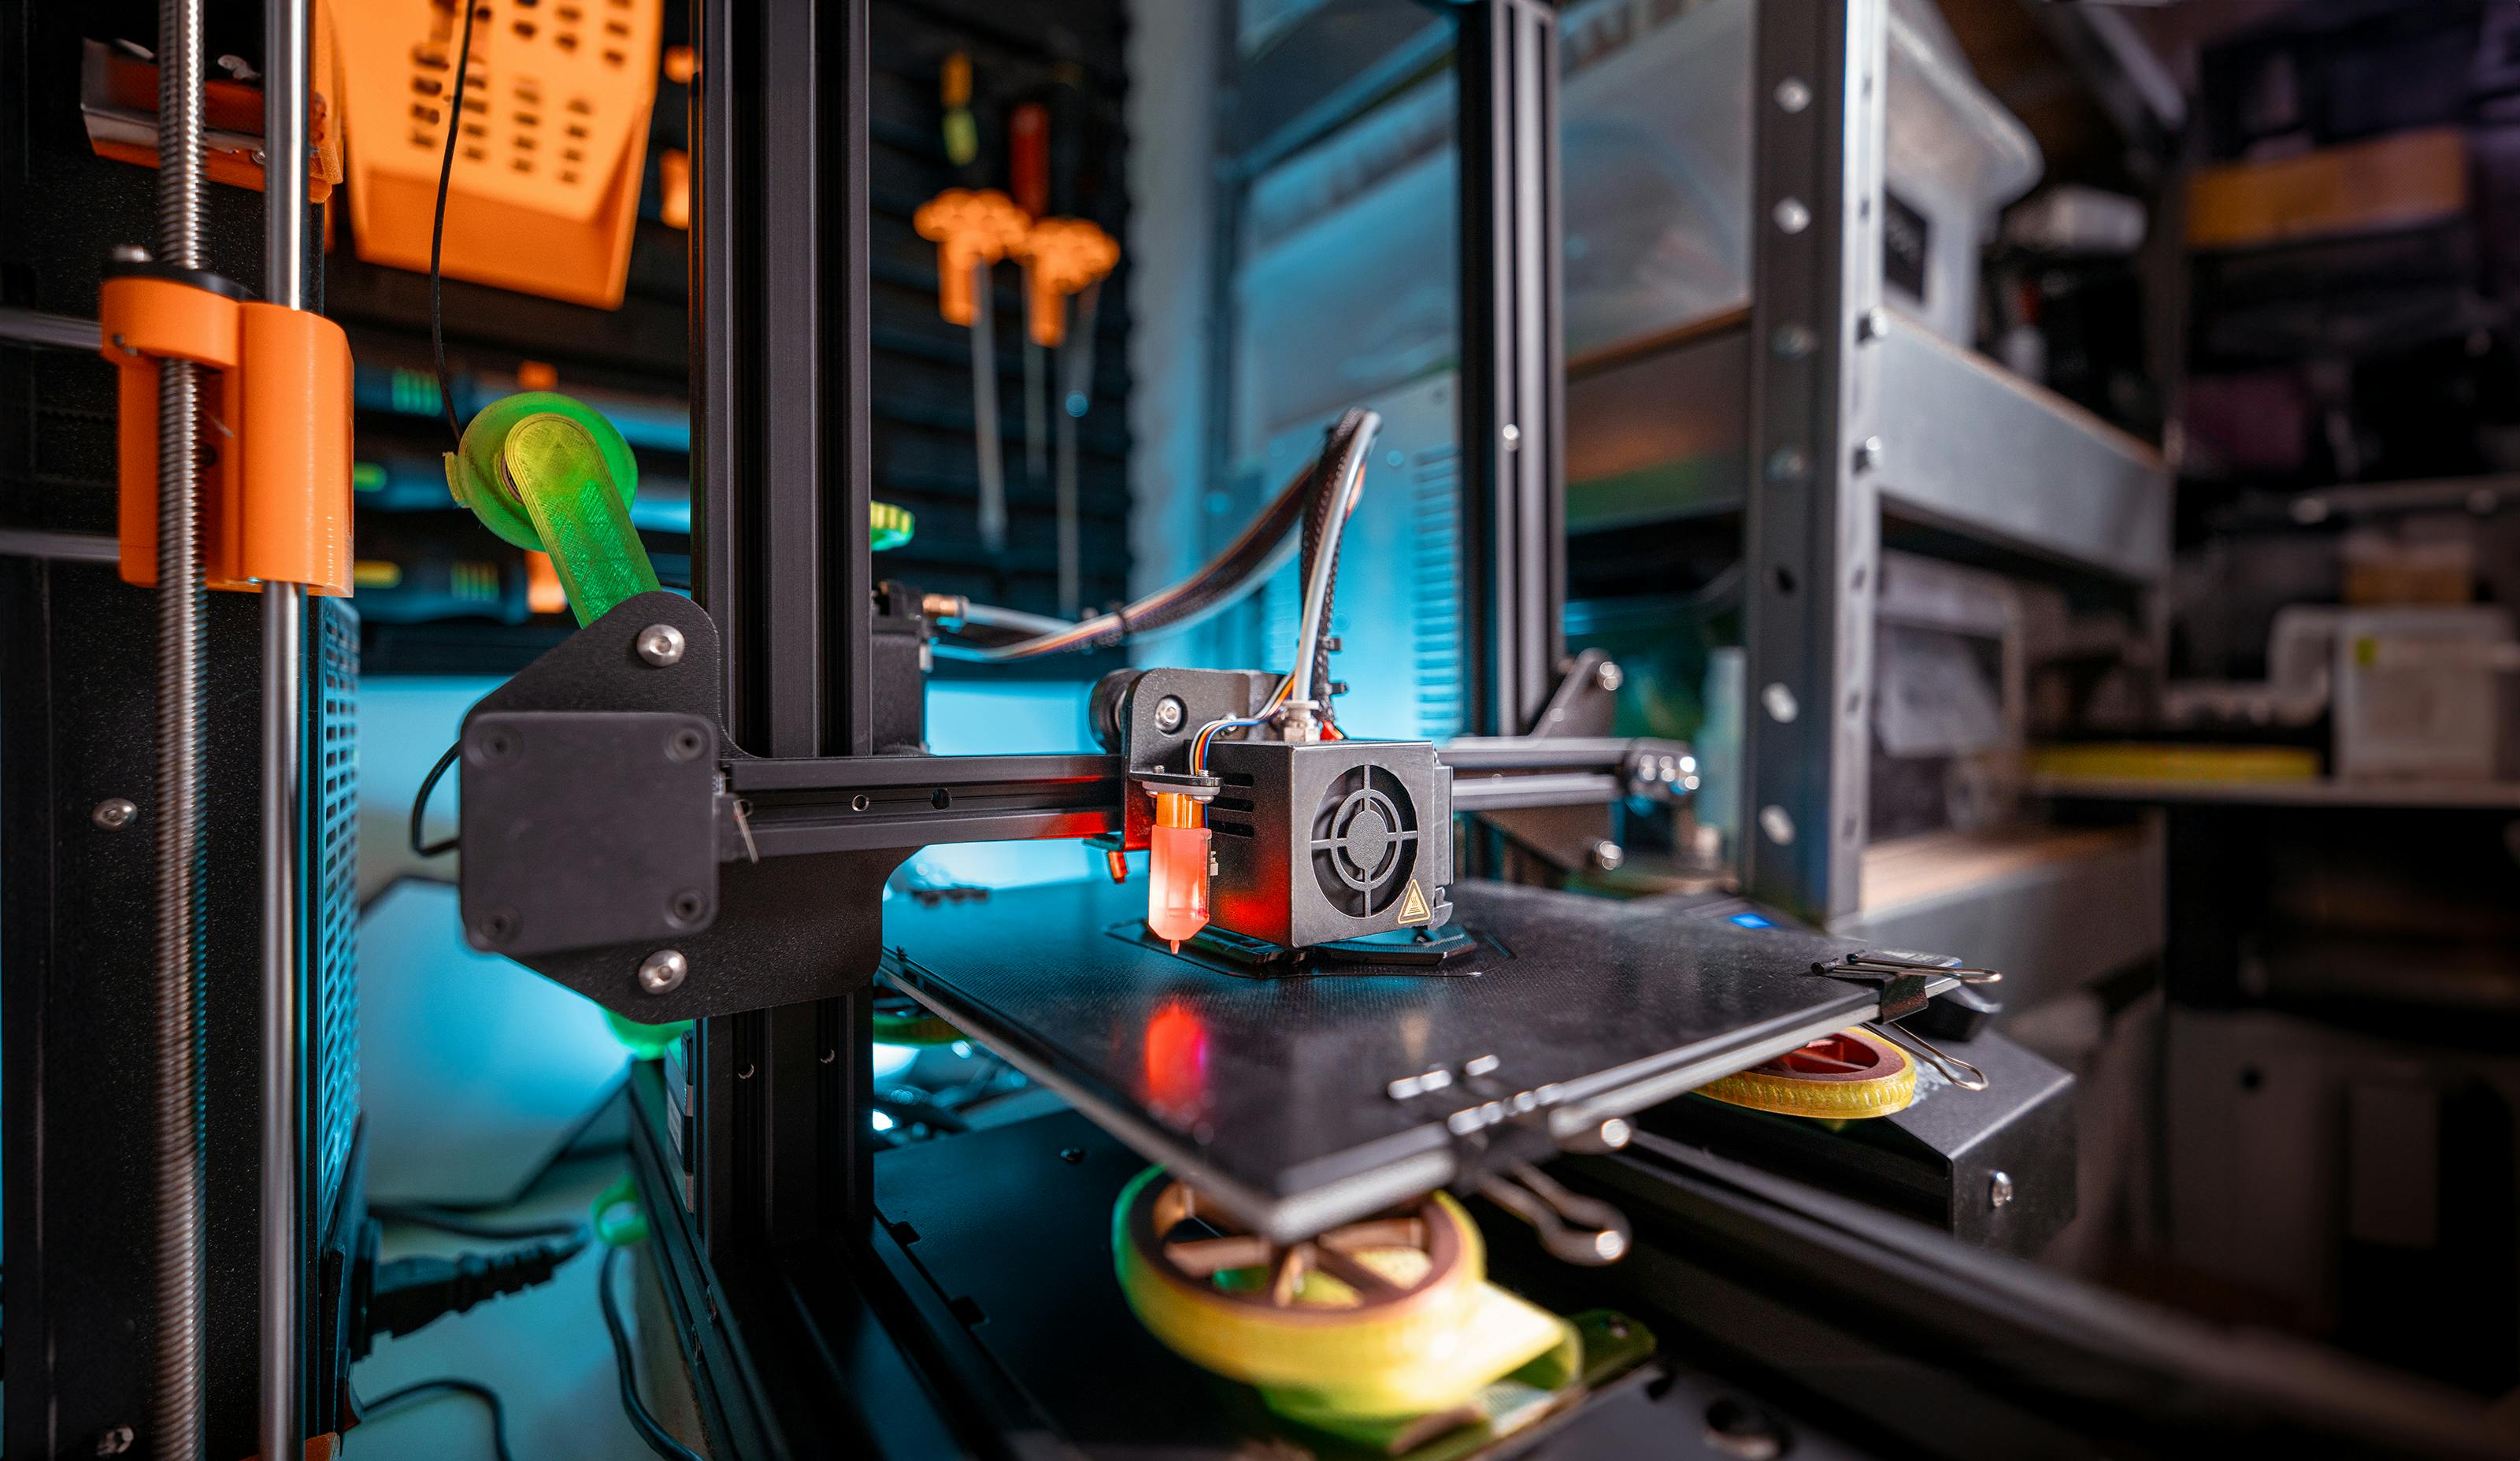
Weekly Checklist (5–10 Minutes)
Do this before your first print of the week, or after every 15–20 hours of printing:
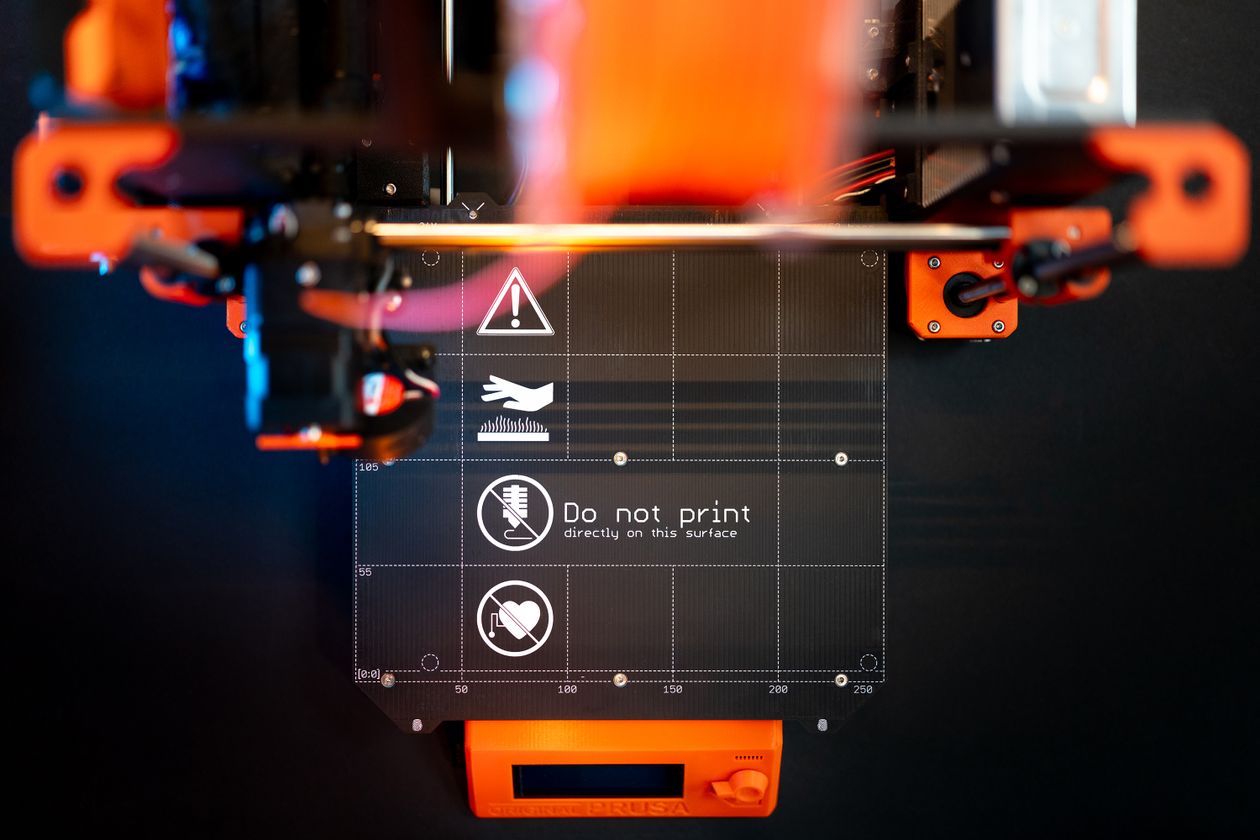
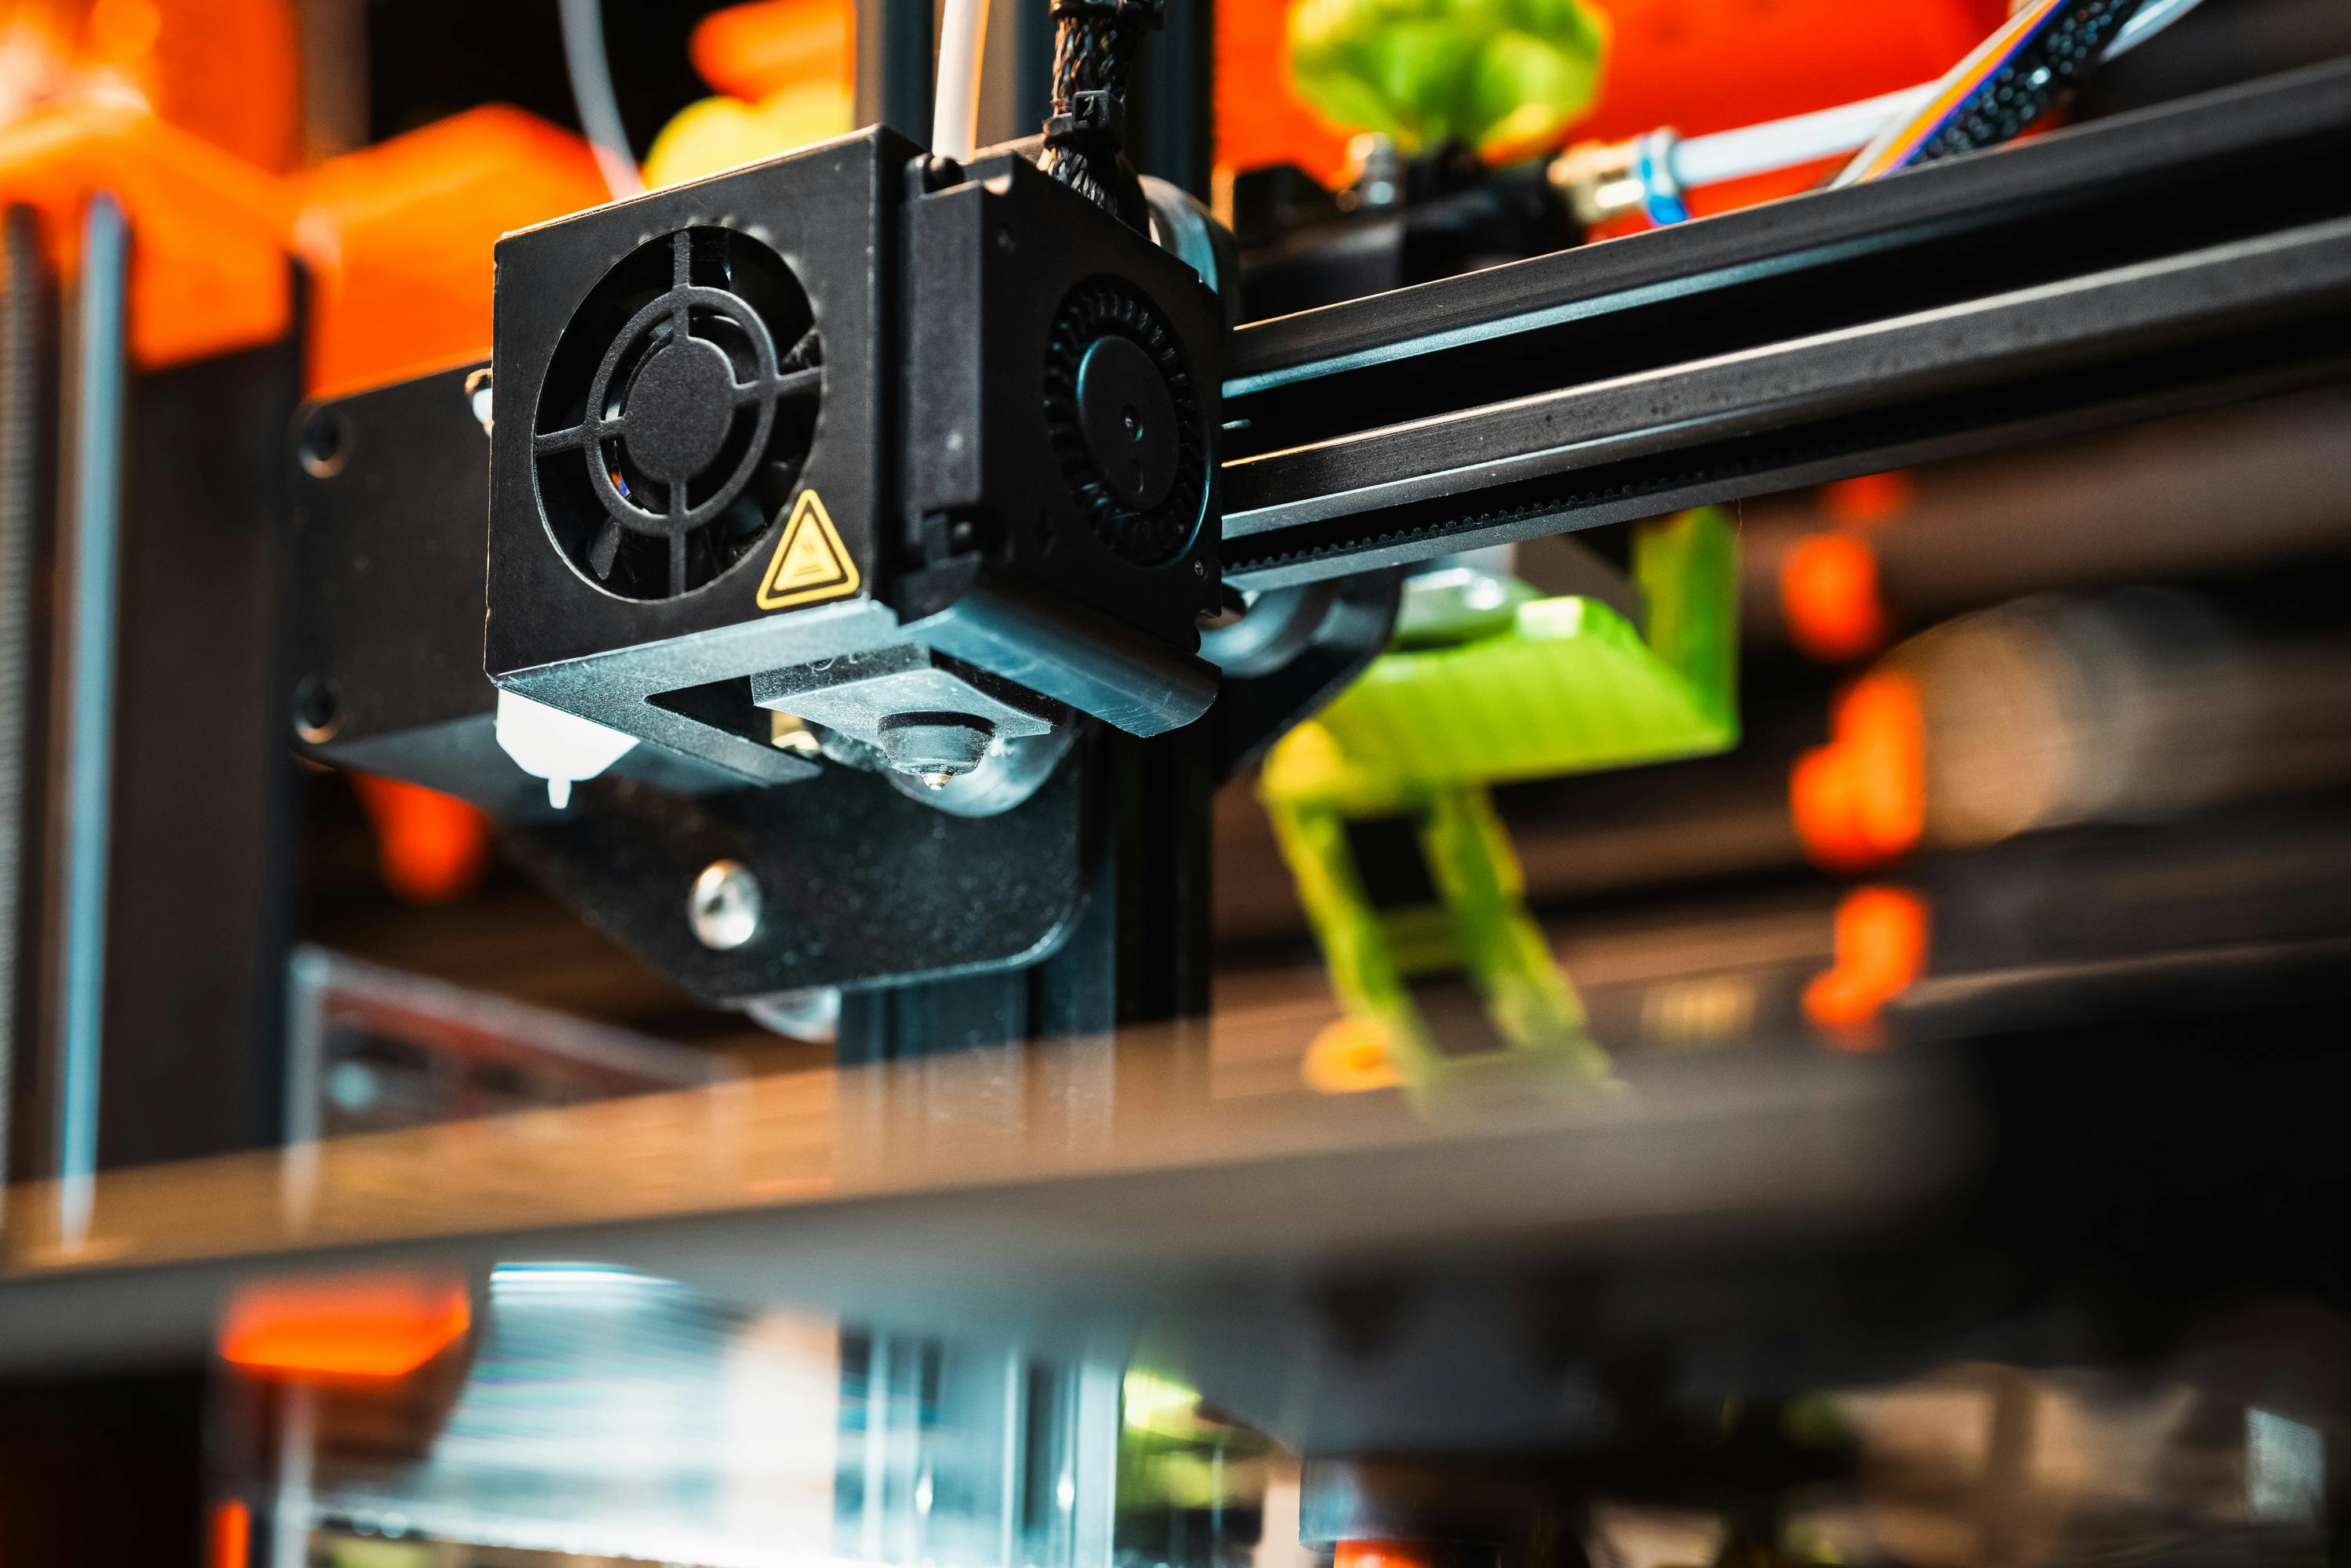
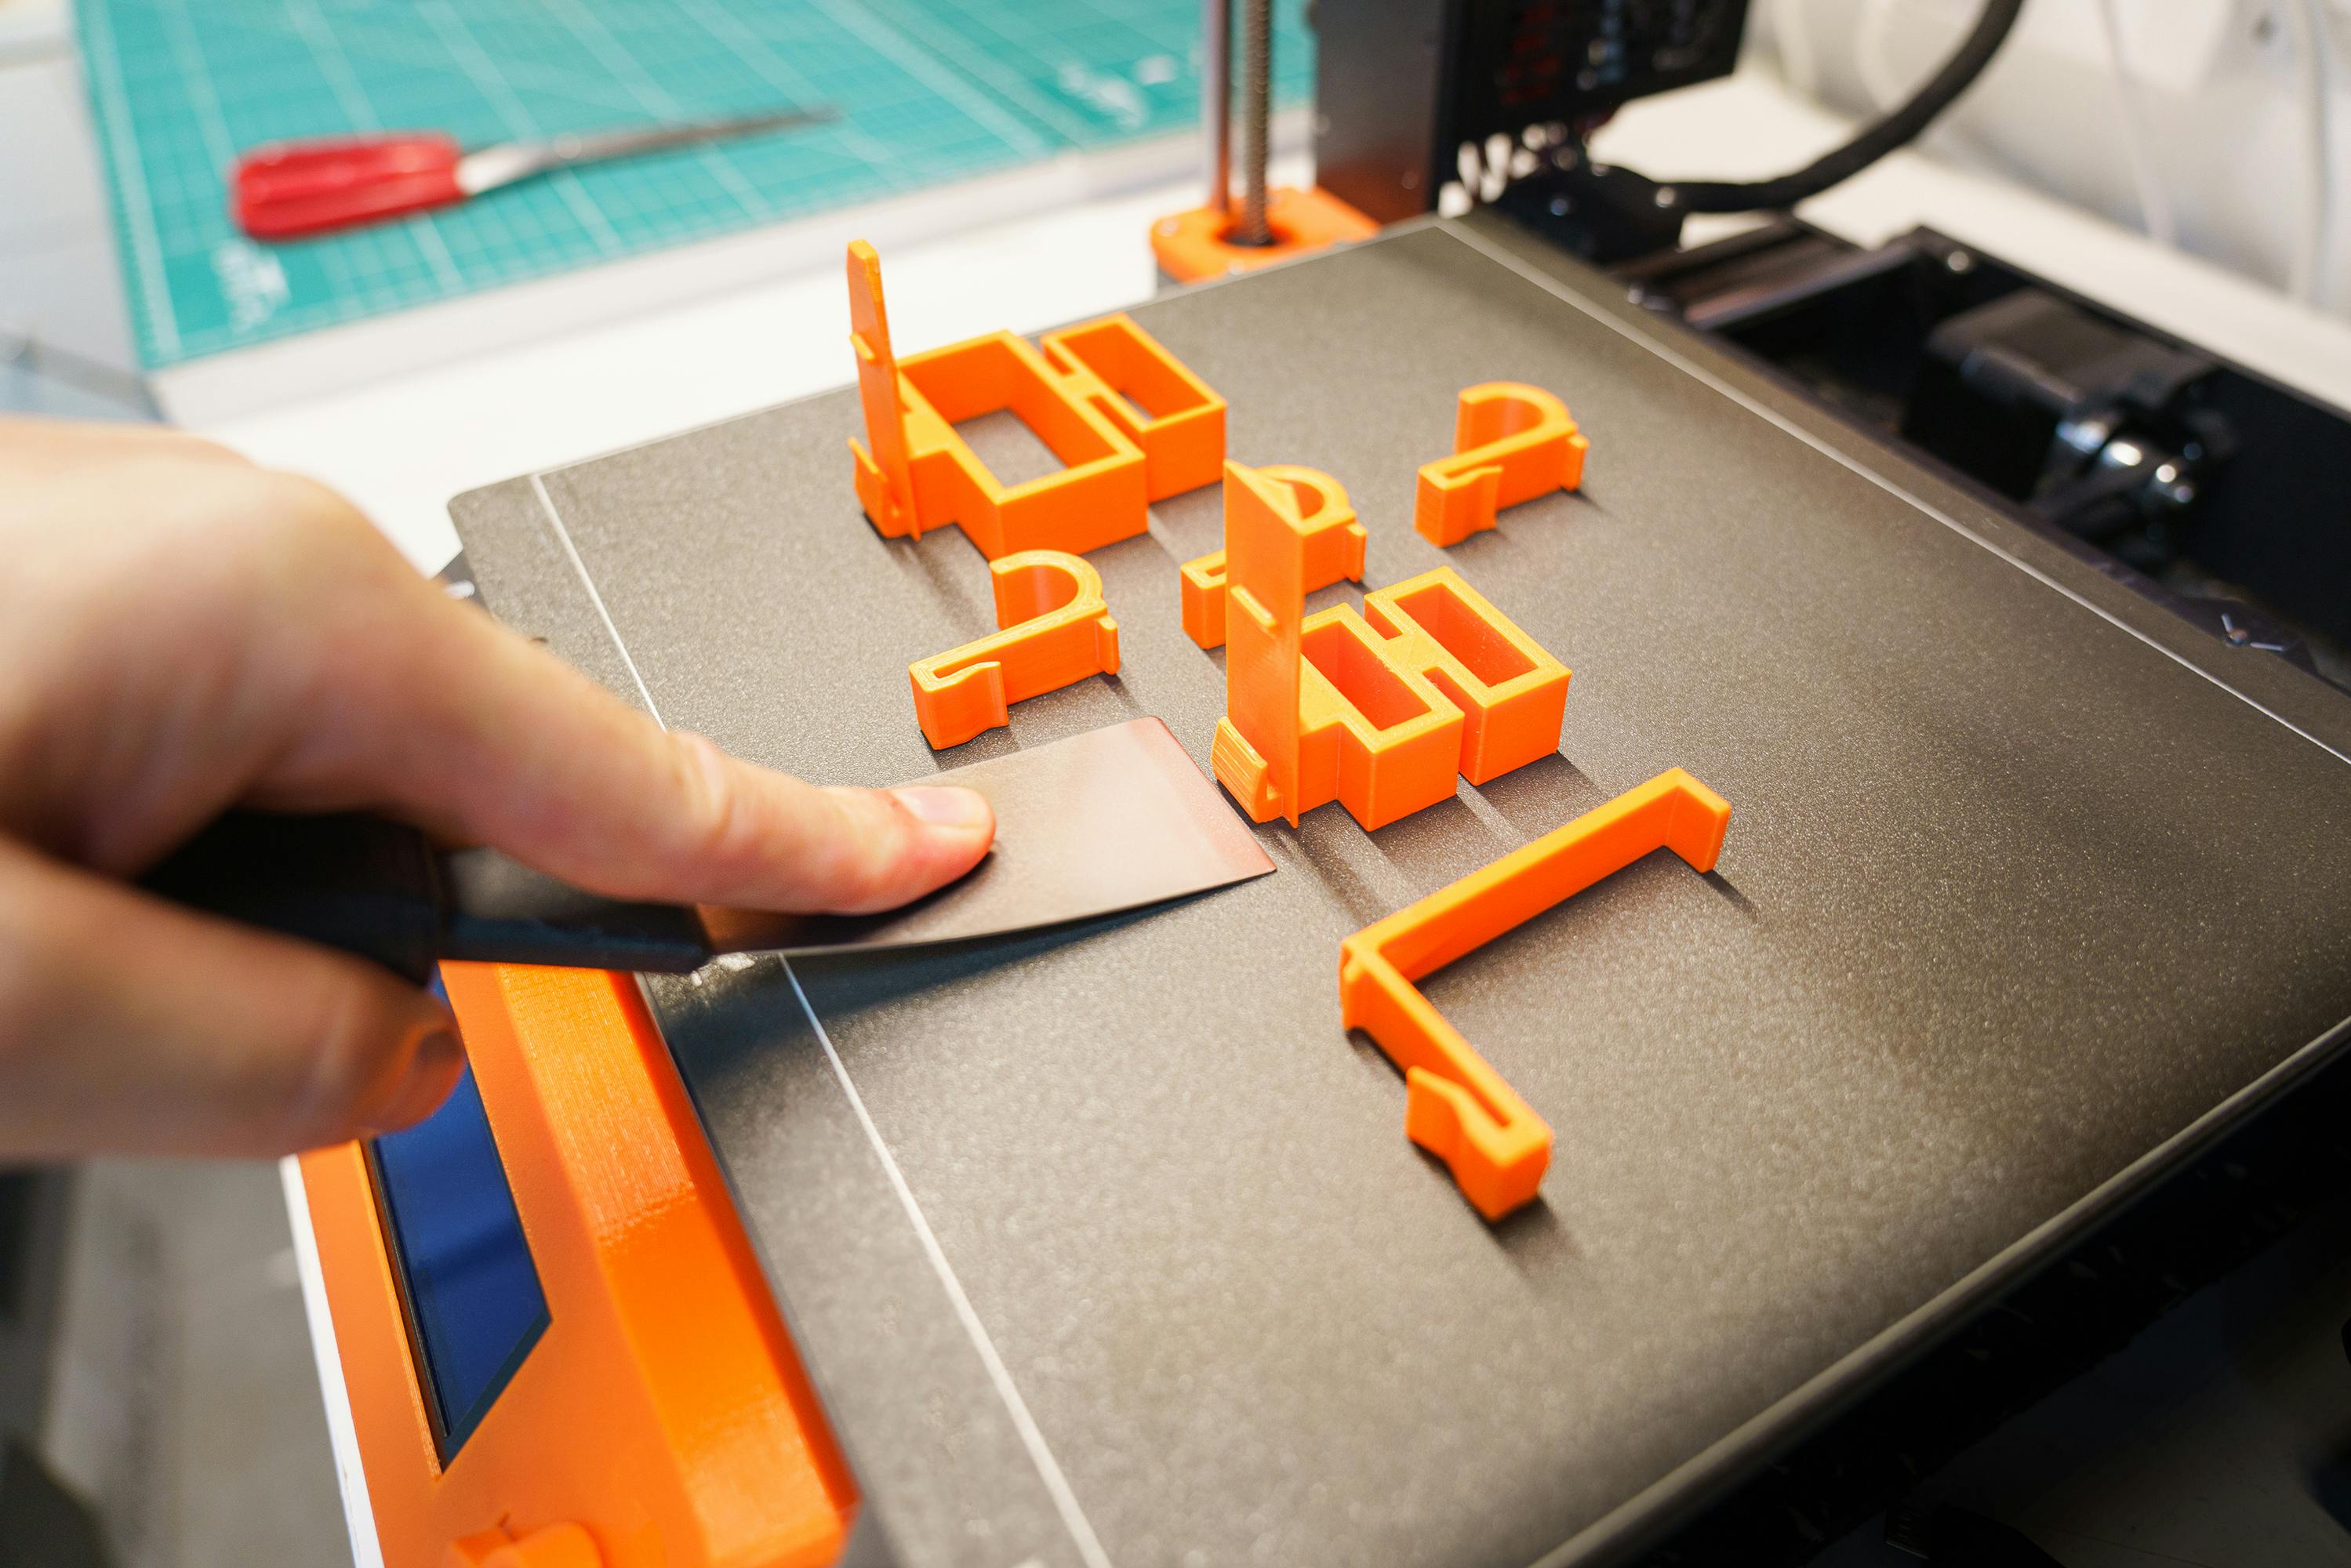
- Clean the bed surface — wipe with isopropyl alcohol (90%+) to remove grease and old adhesive residue. Fingerprints alone can ruin first-layer adhesion.
- Check belt tension — pluck the X and Y belts like a guitar string. They should be snug, not slack, and not so tight the motors strain.
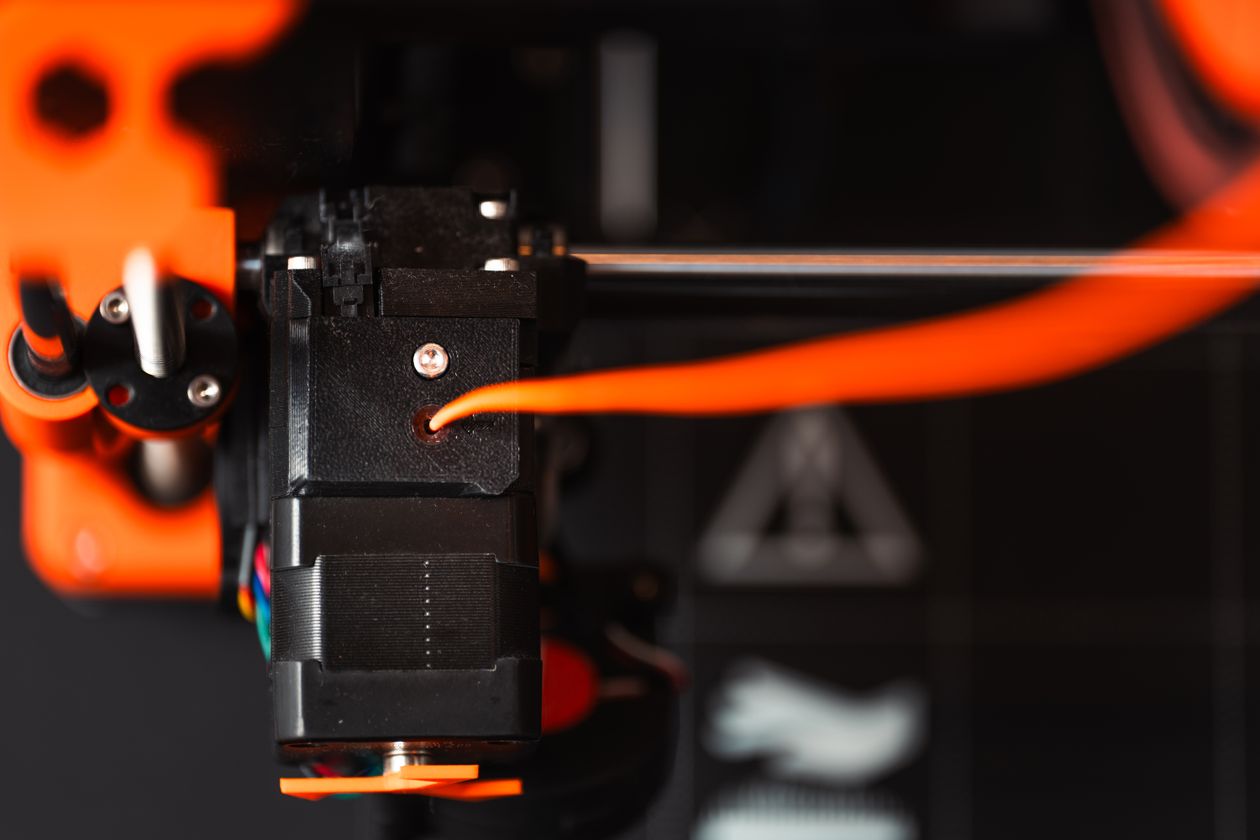
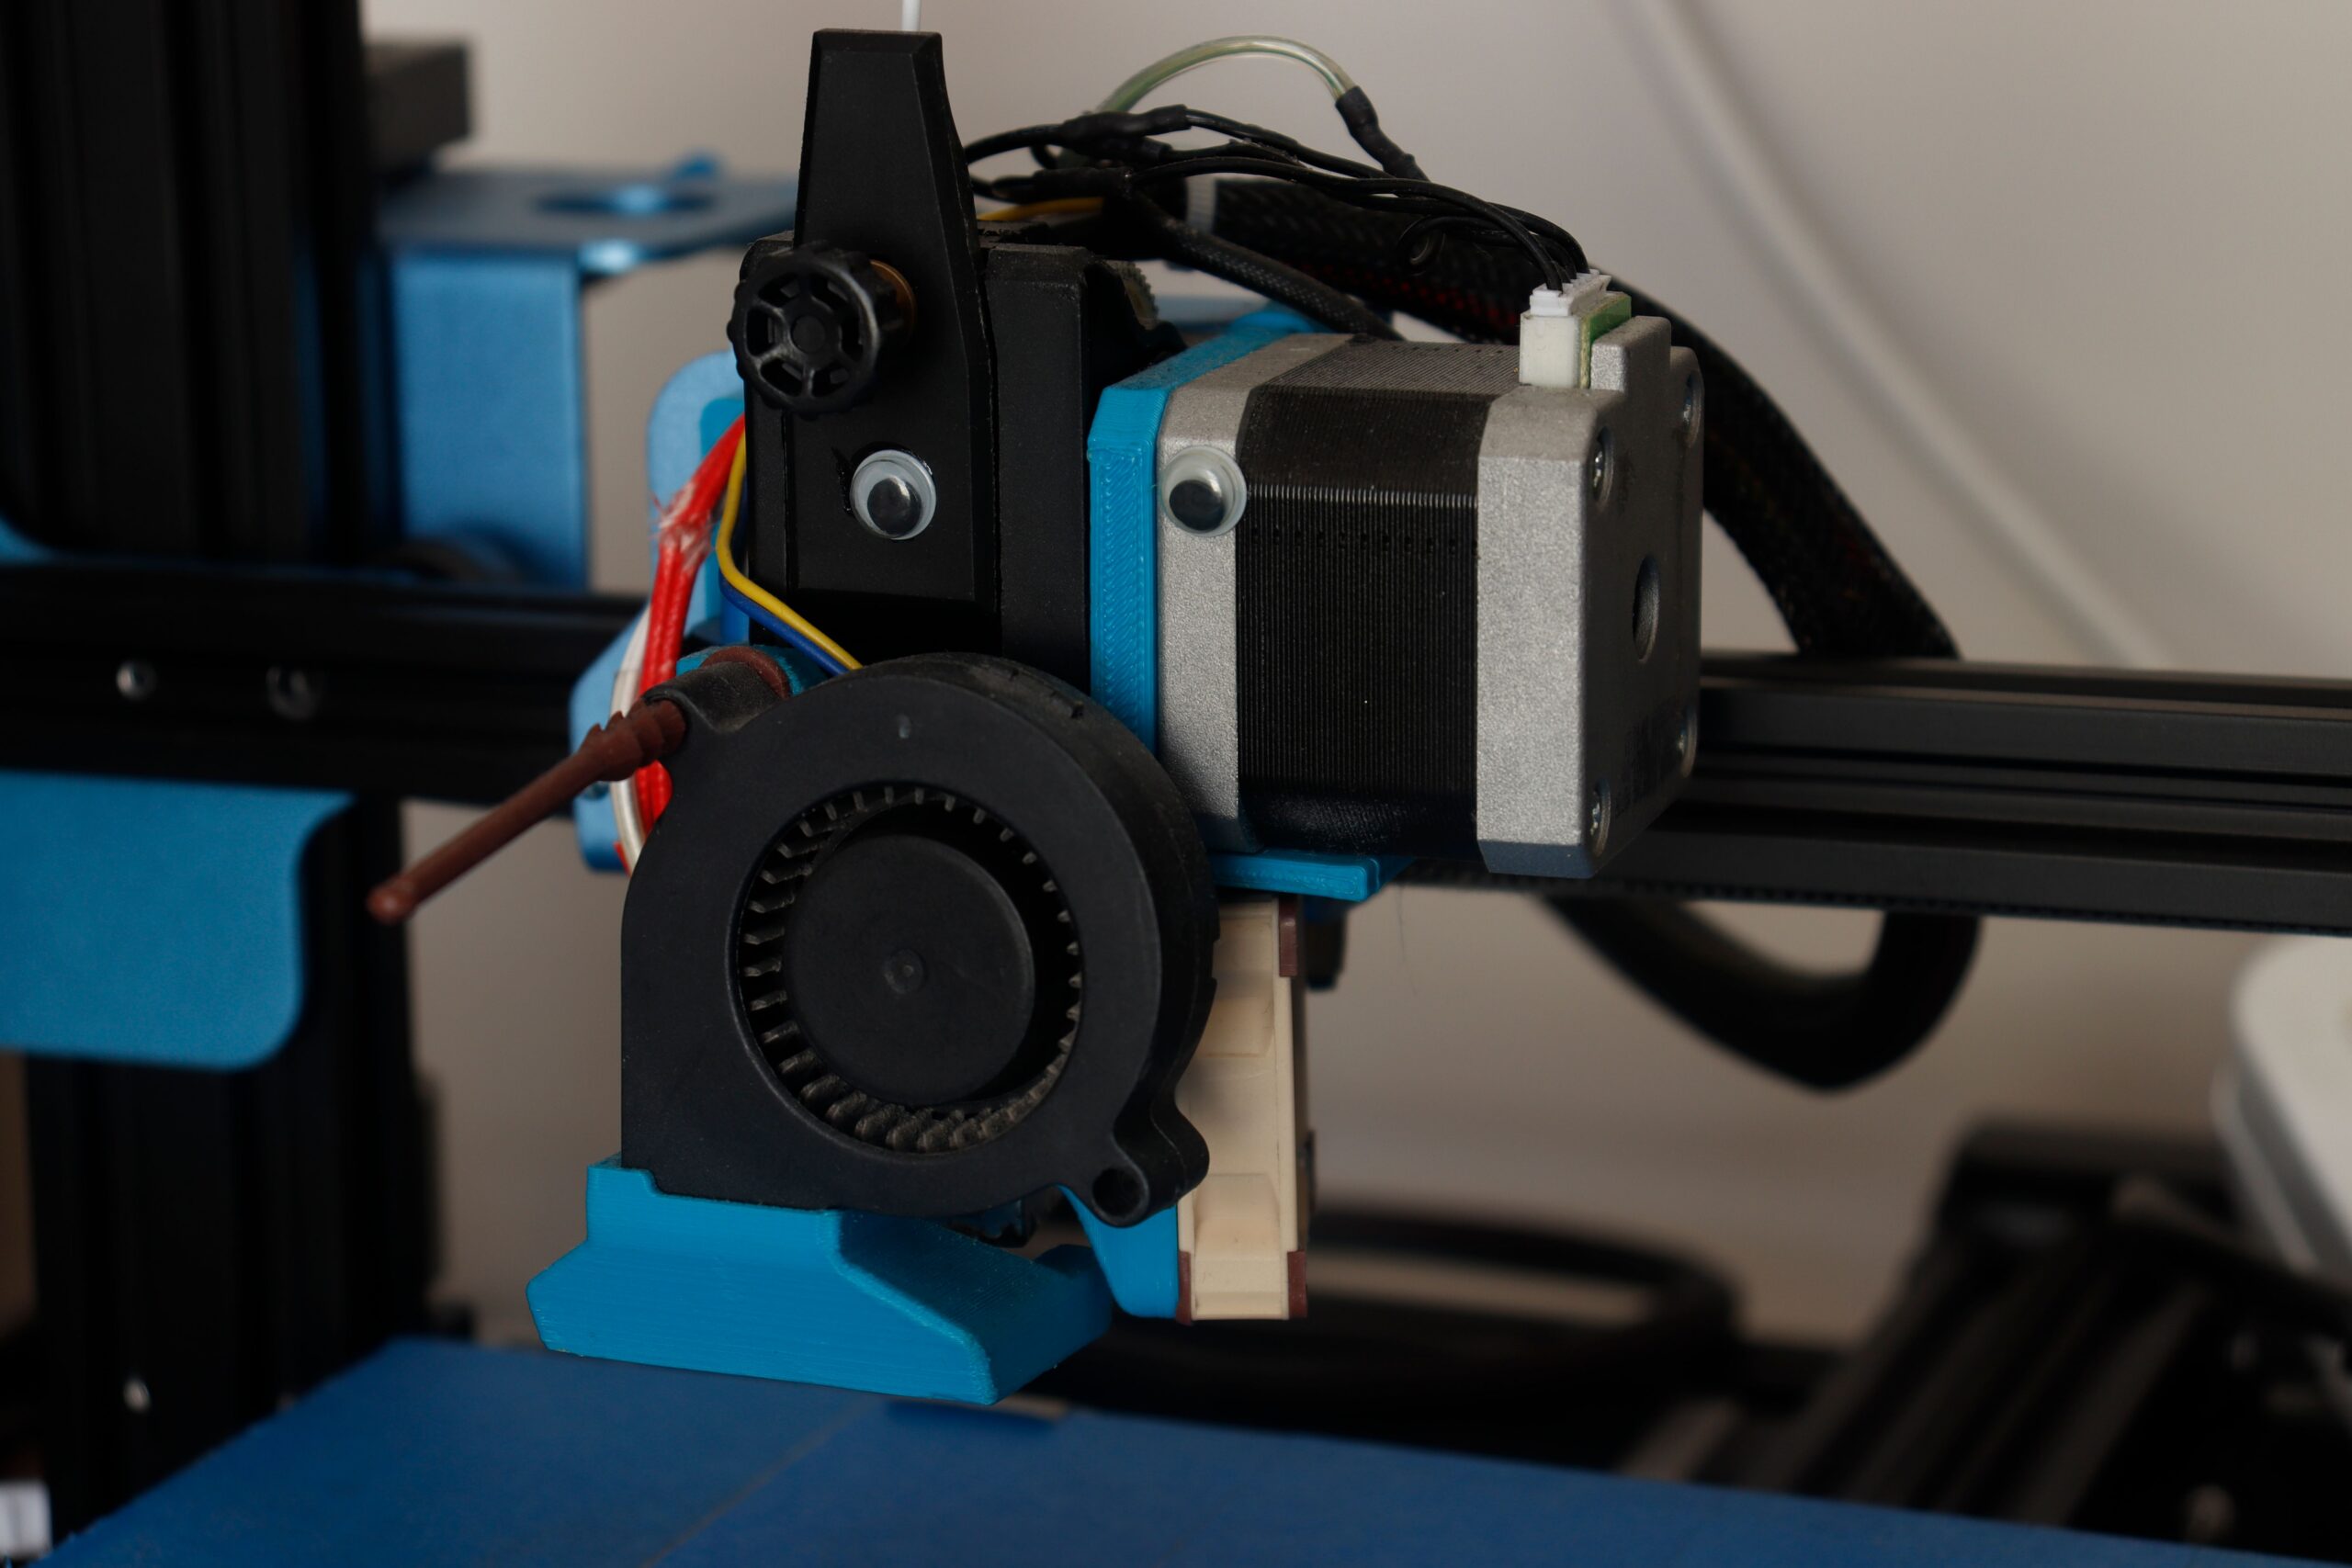
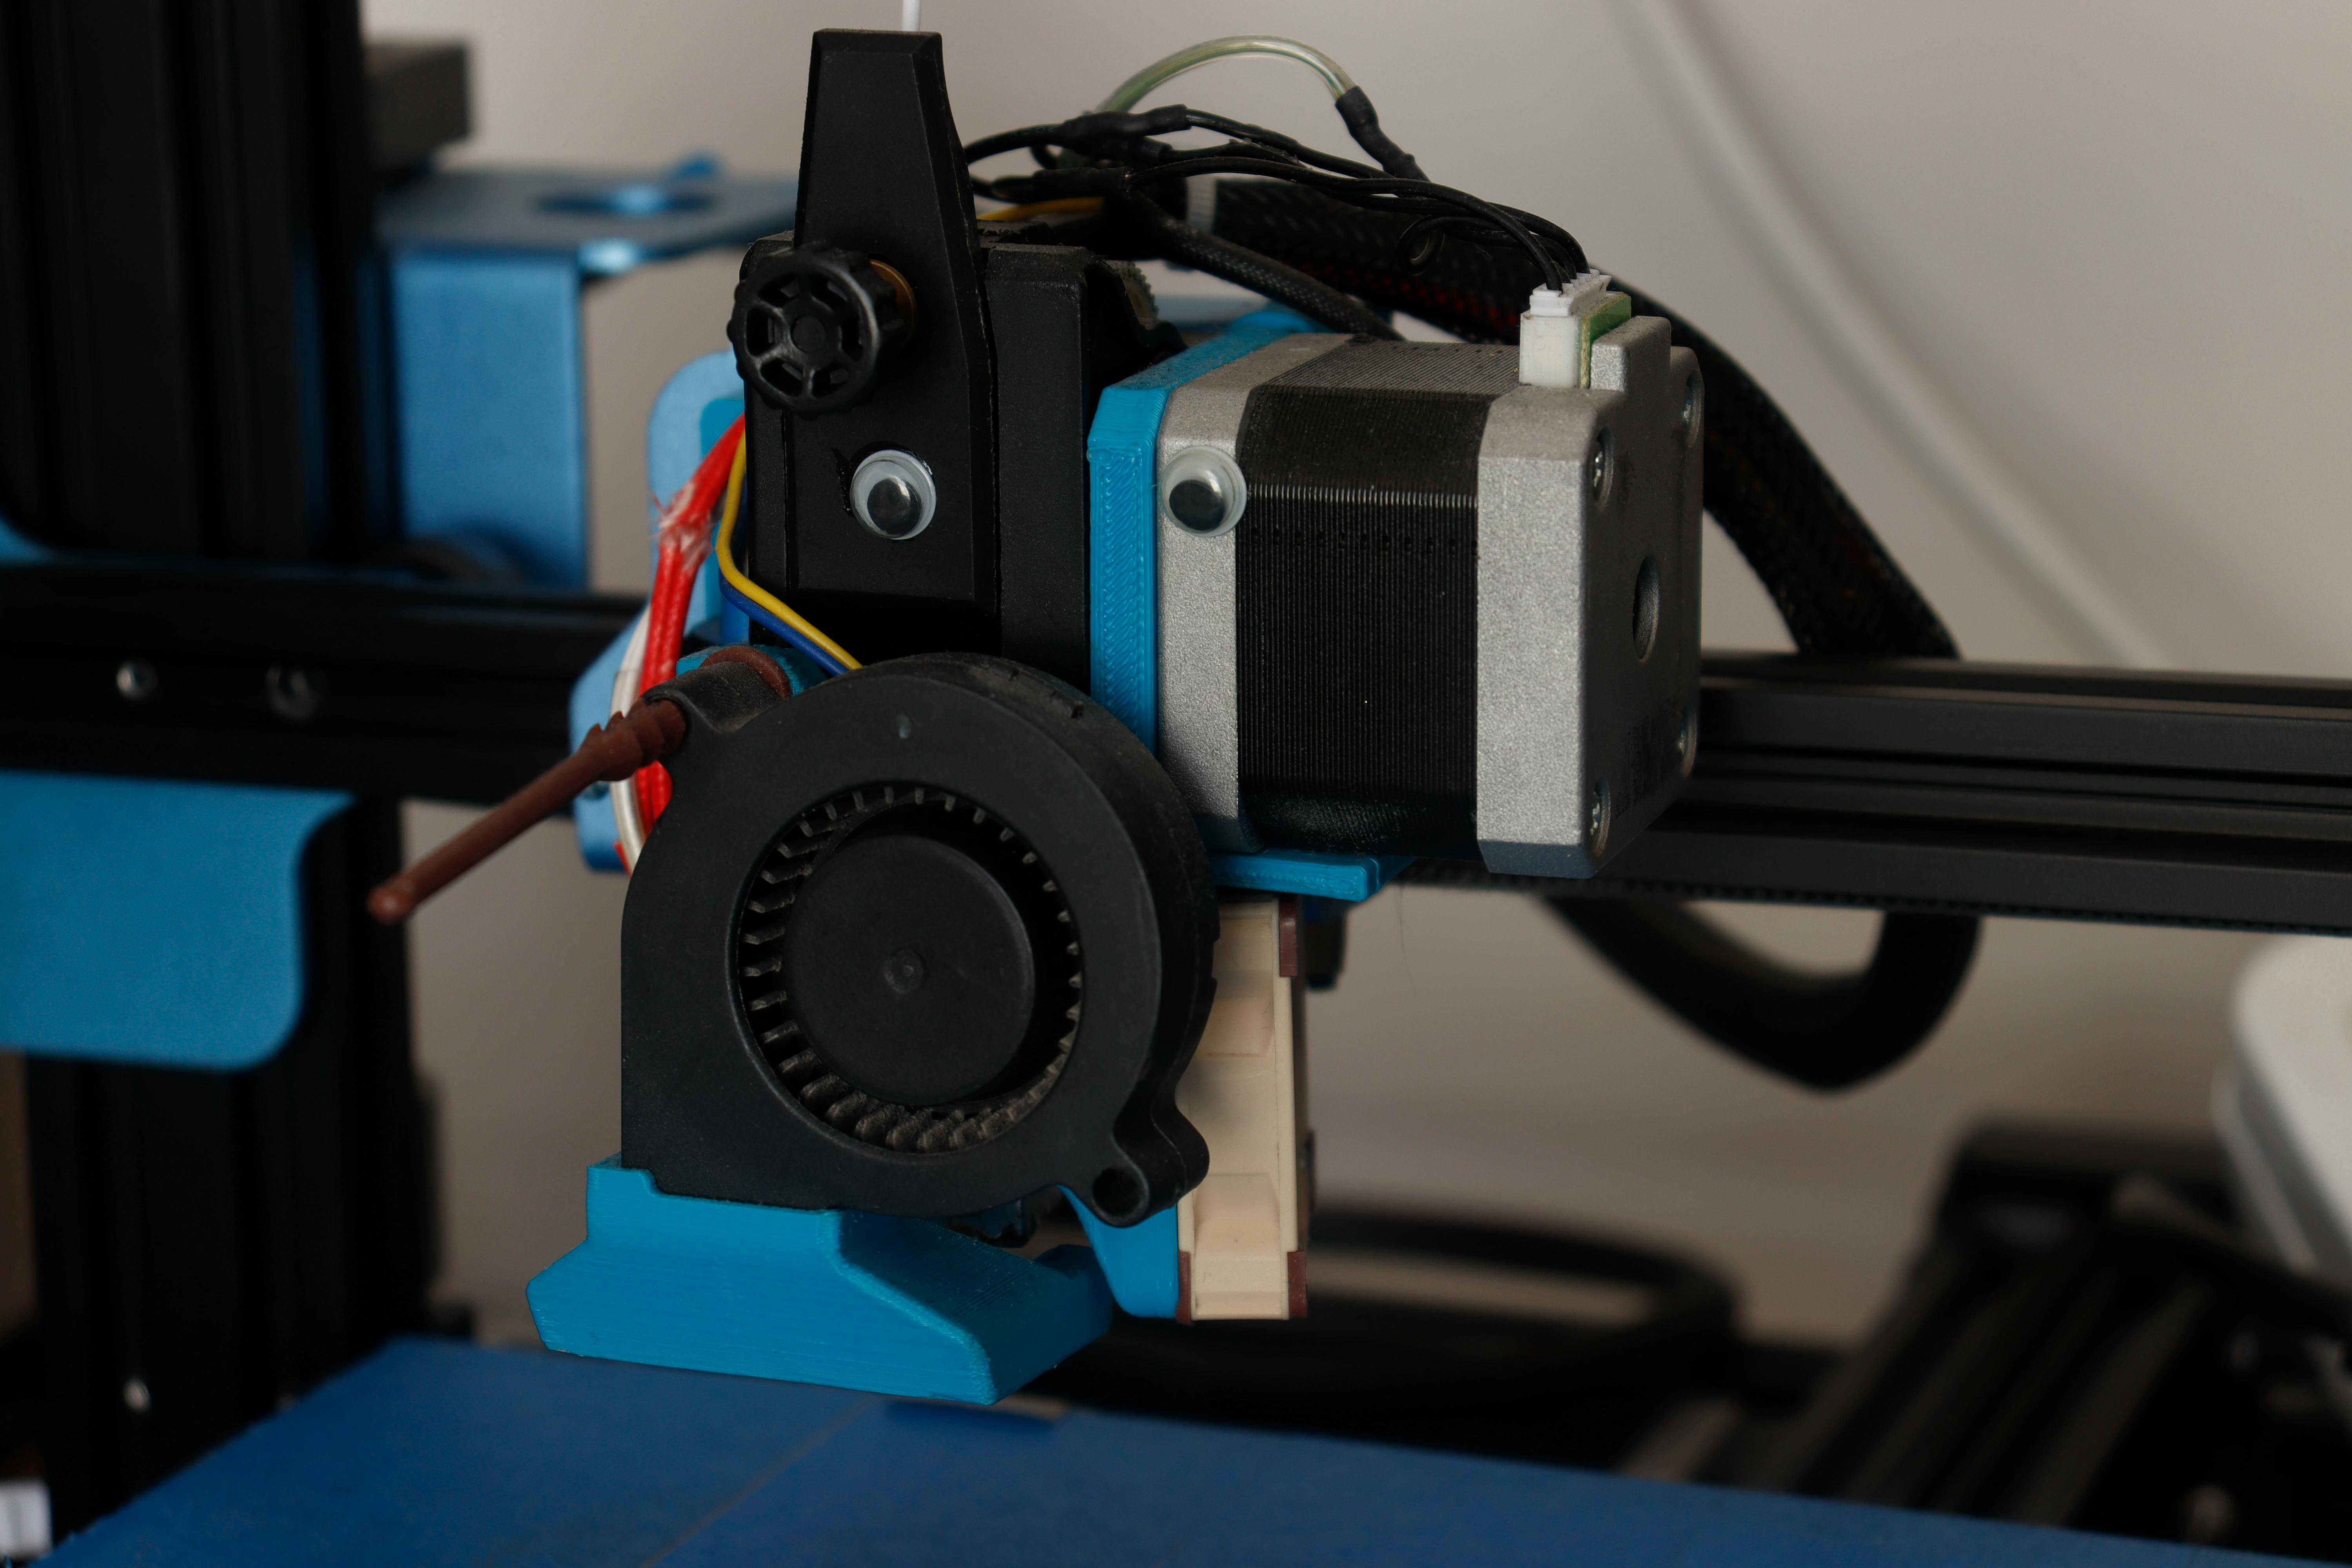
- Inspect the nozzle tip — look for stringy plastic buildup or a slightly bent tip from a bed collision.
- Listen while it prints — grinding, clicking, or a new rattle usually means something is loose or a bearing needs oil.
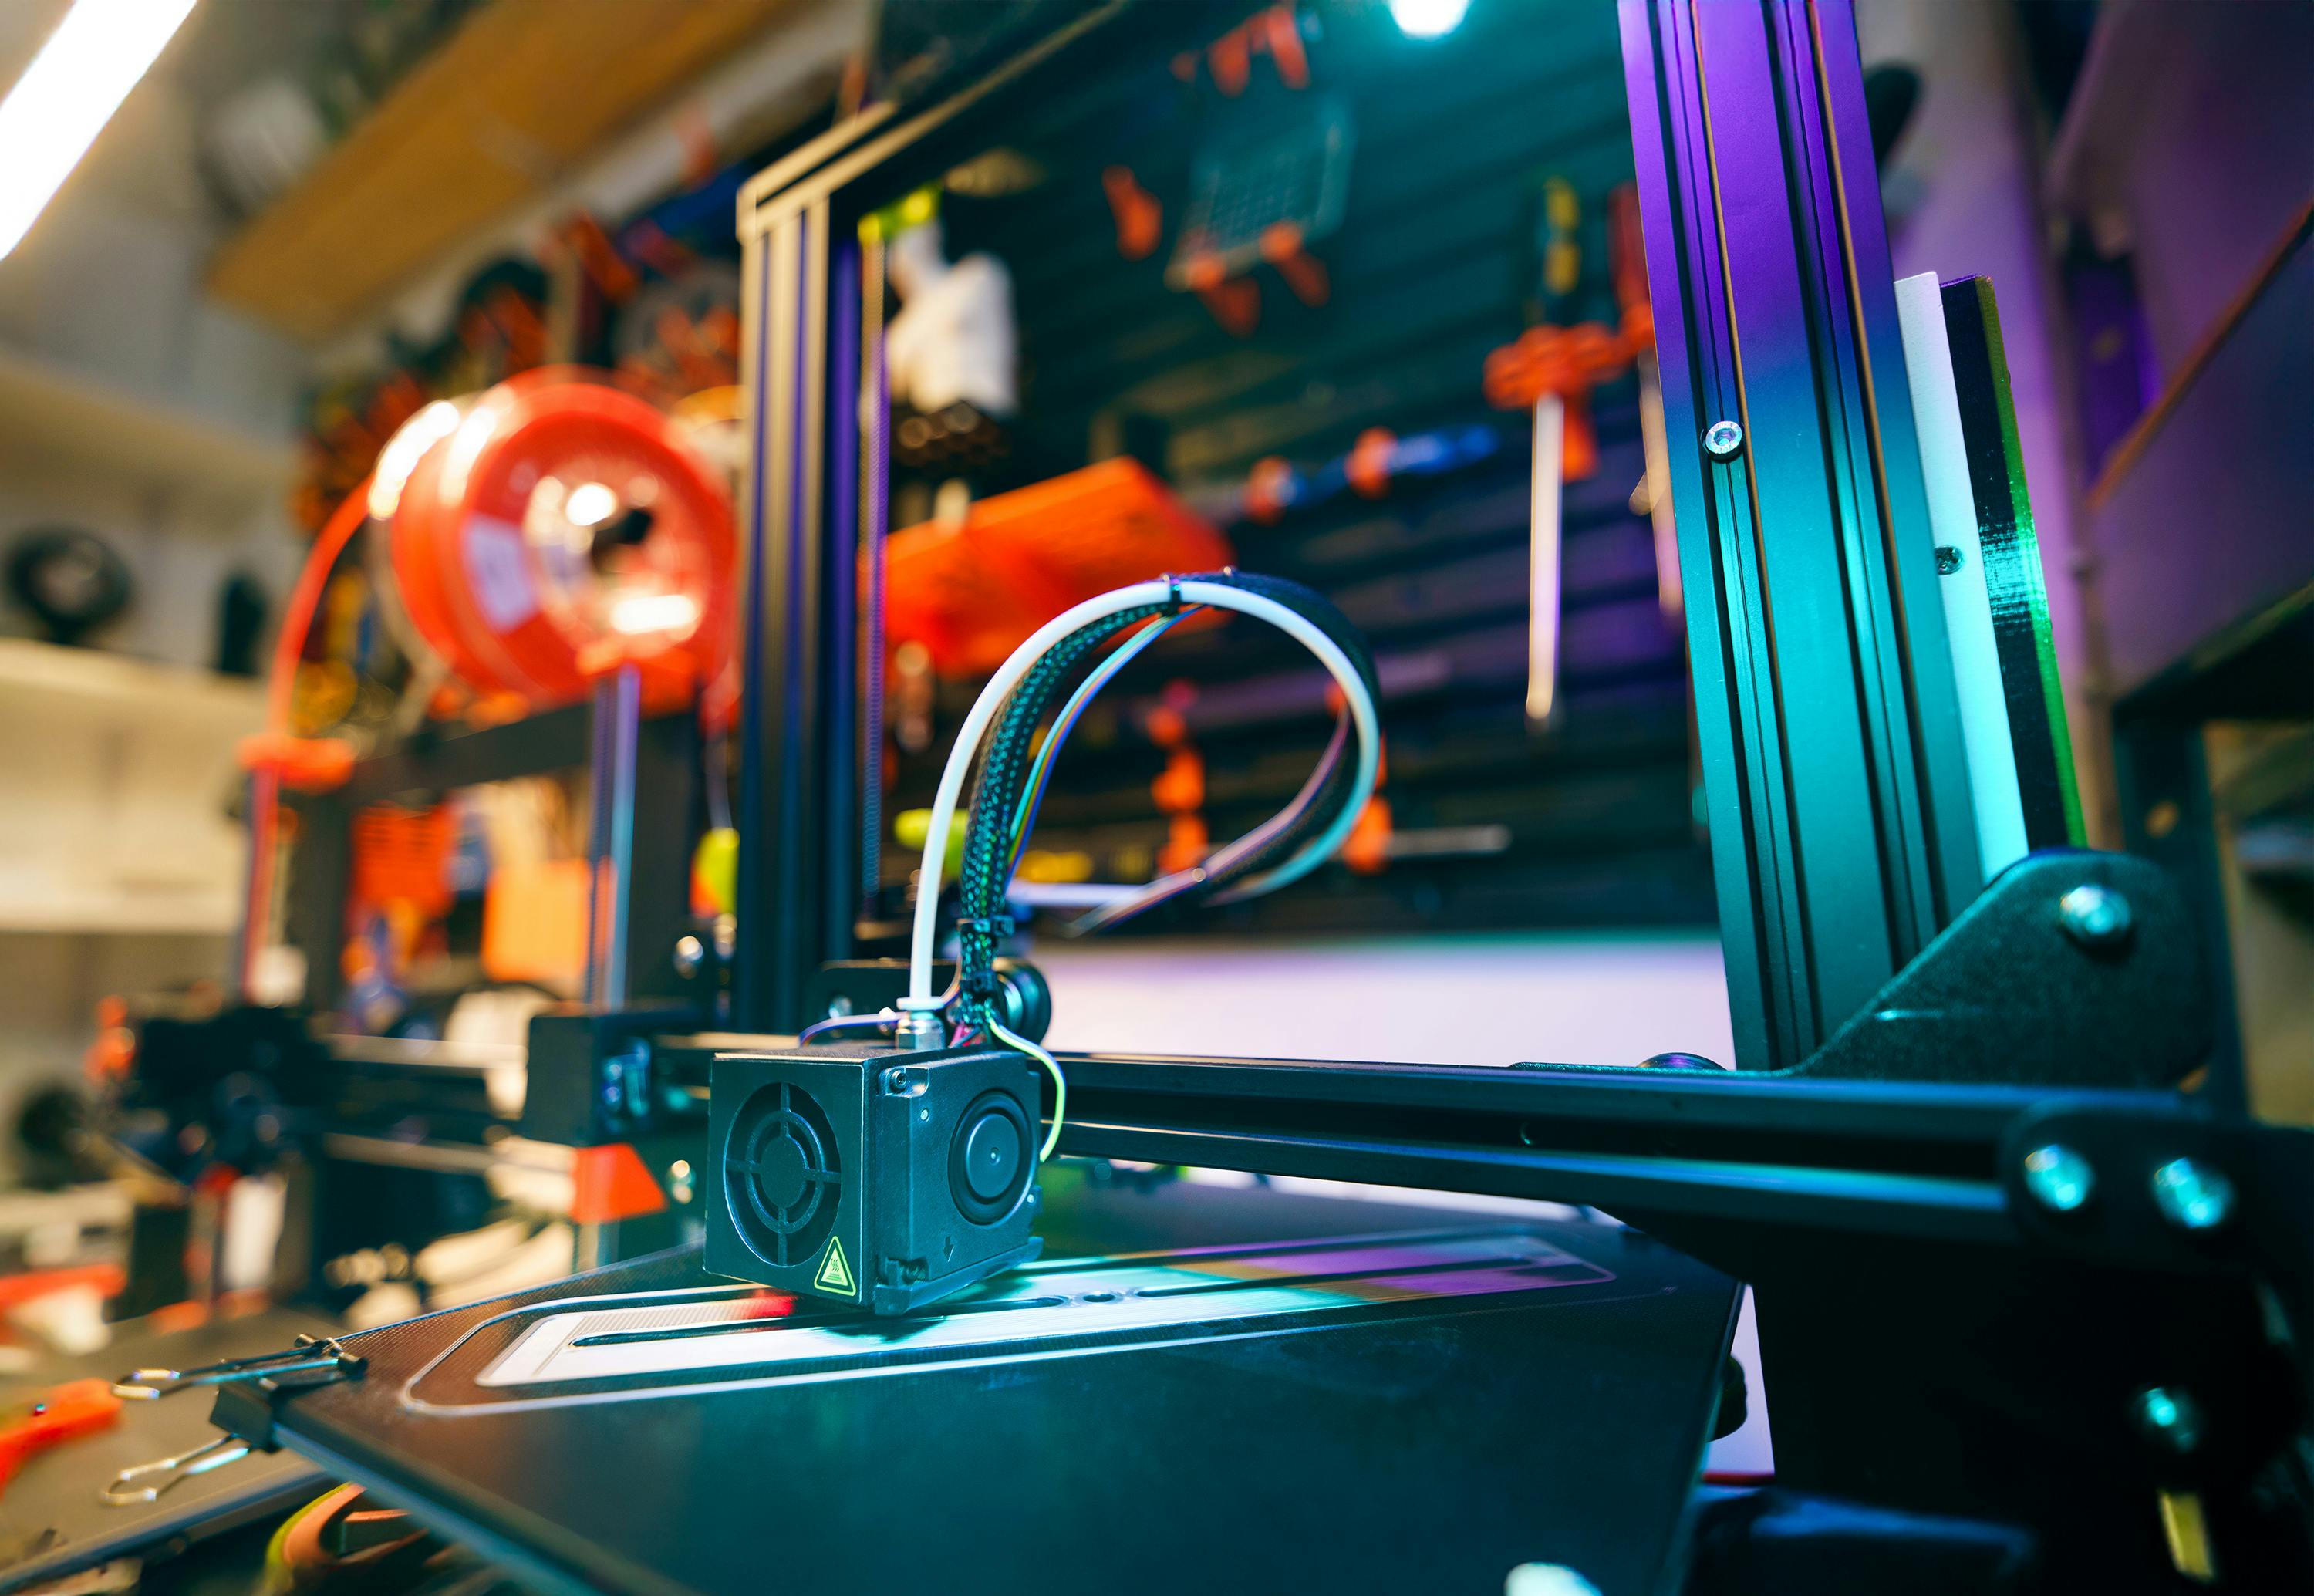
Monthly Checklist (30–45 Minutes)
Set a recurring phone reminder for this — it’s the tier most makers skip, and where most problems start:
- Lubricate rods and rails — a drop of PTFE-based or lithium grease on smooth rods, lead screws, and linear rails. Wipe away old, dust-caked grease first with a lint-free cloth.
- Re-tighten frame bolts — vibration from daily printing loosens gantry and frame screws over weeks. A quarter-turn on each is usually enough.
- Clean cooling fans — compressed air or a soft brush on the hotend fan and part-cooling fan. Dust buildup here causes overheating and layer cooling problems.
- Check wiring at stress points — flex the cables running to the hotend and bed (where they see the most motion) and look for fraying insulation.
- Do a cold pull — heat the nozzle, then pull filament through at a lower temperature to clear internal residue before it hardens into a clog.
Every 3–6 Months
- Replace the PTFE tube (if you have a Bowden setup) — it degrades from heat cycling and starts causing under-extrusion.
- Swap the nozzle — brass nozzles wear out faster than you’d expect, especially with abrasive filaments like glow-in-the-dark or carbon-fiber blends. A worn nozzle prints wider lines than your slicer expects.
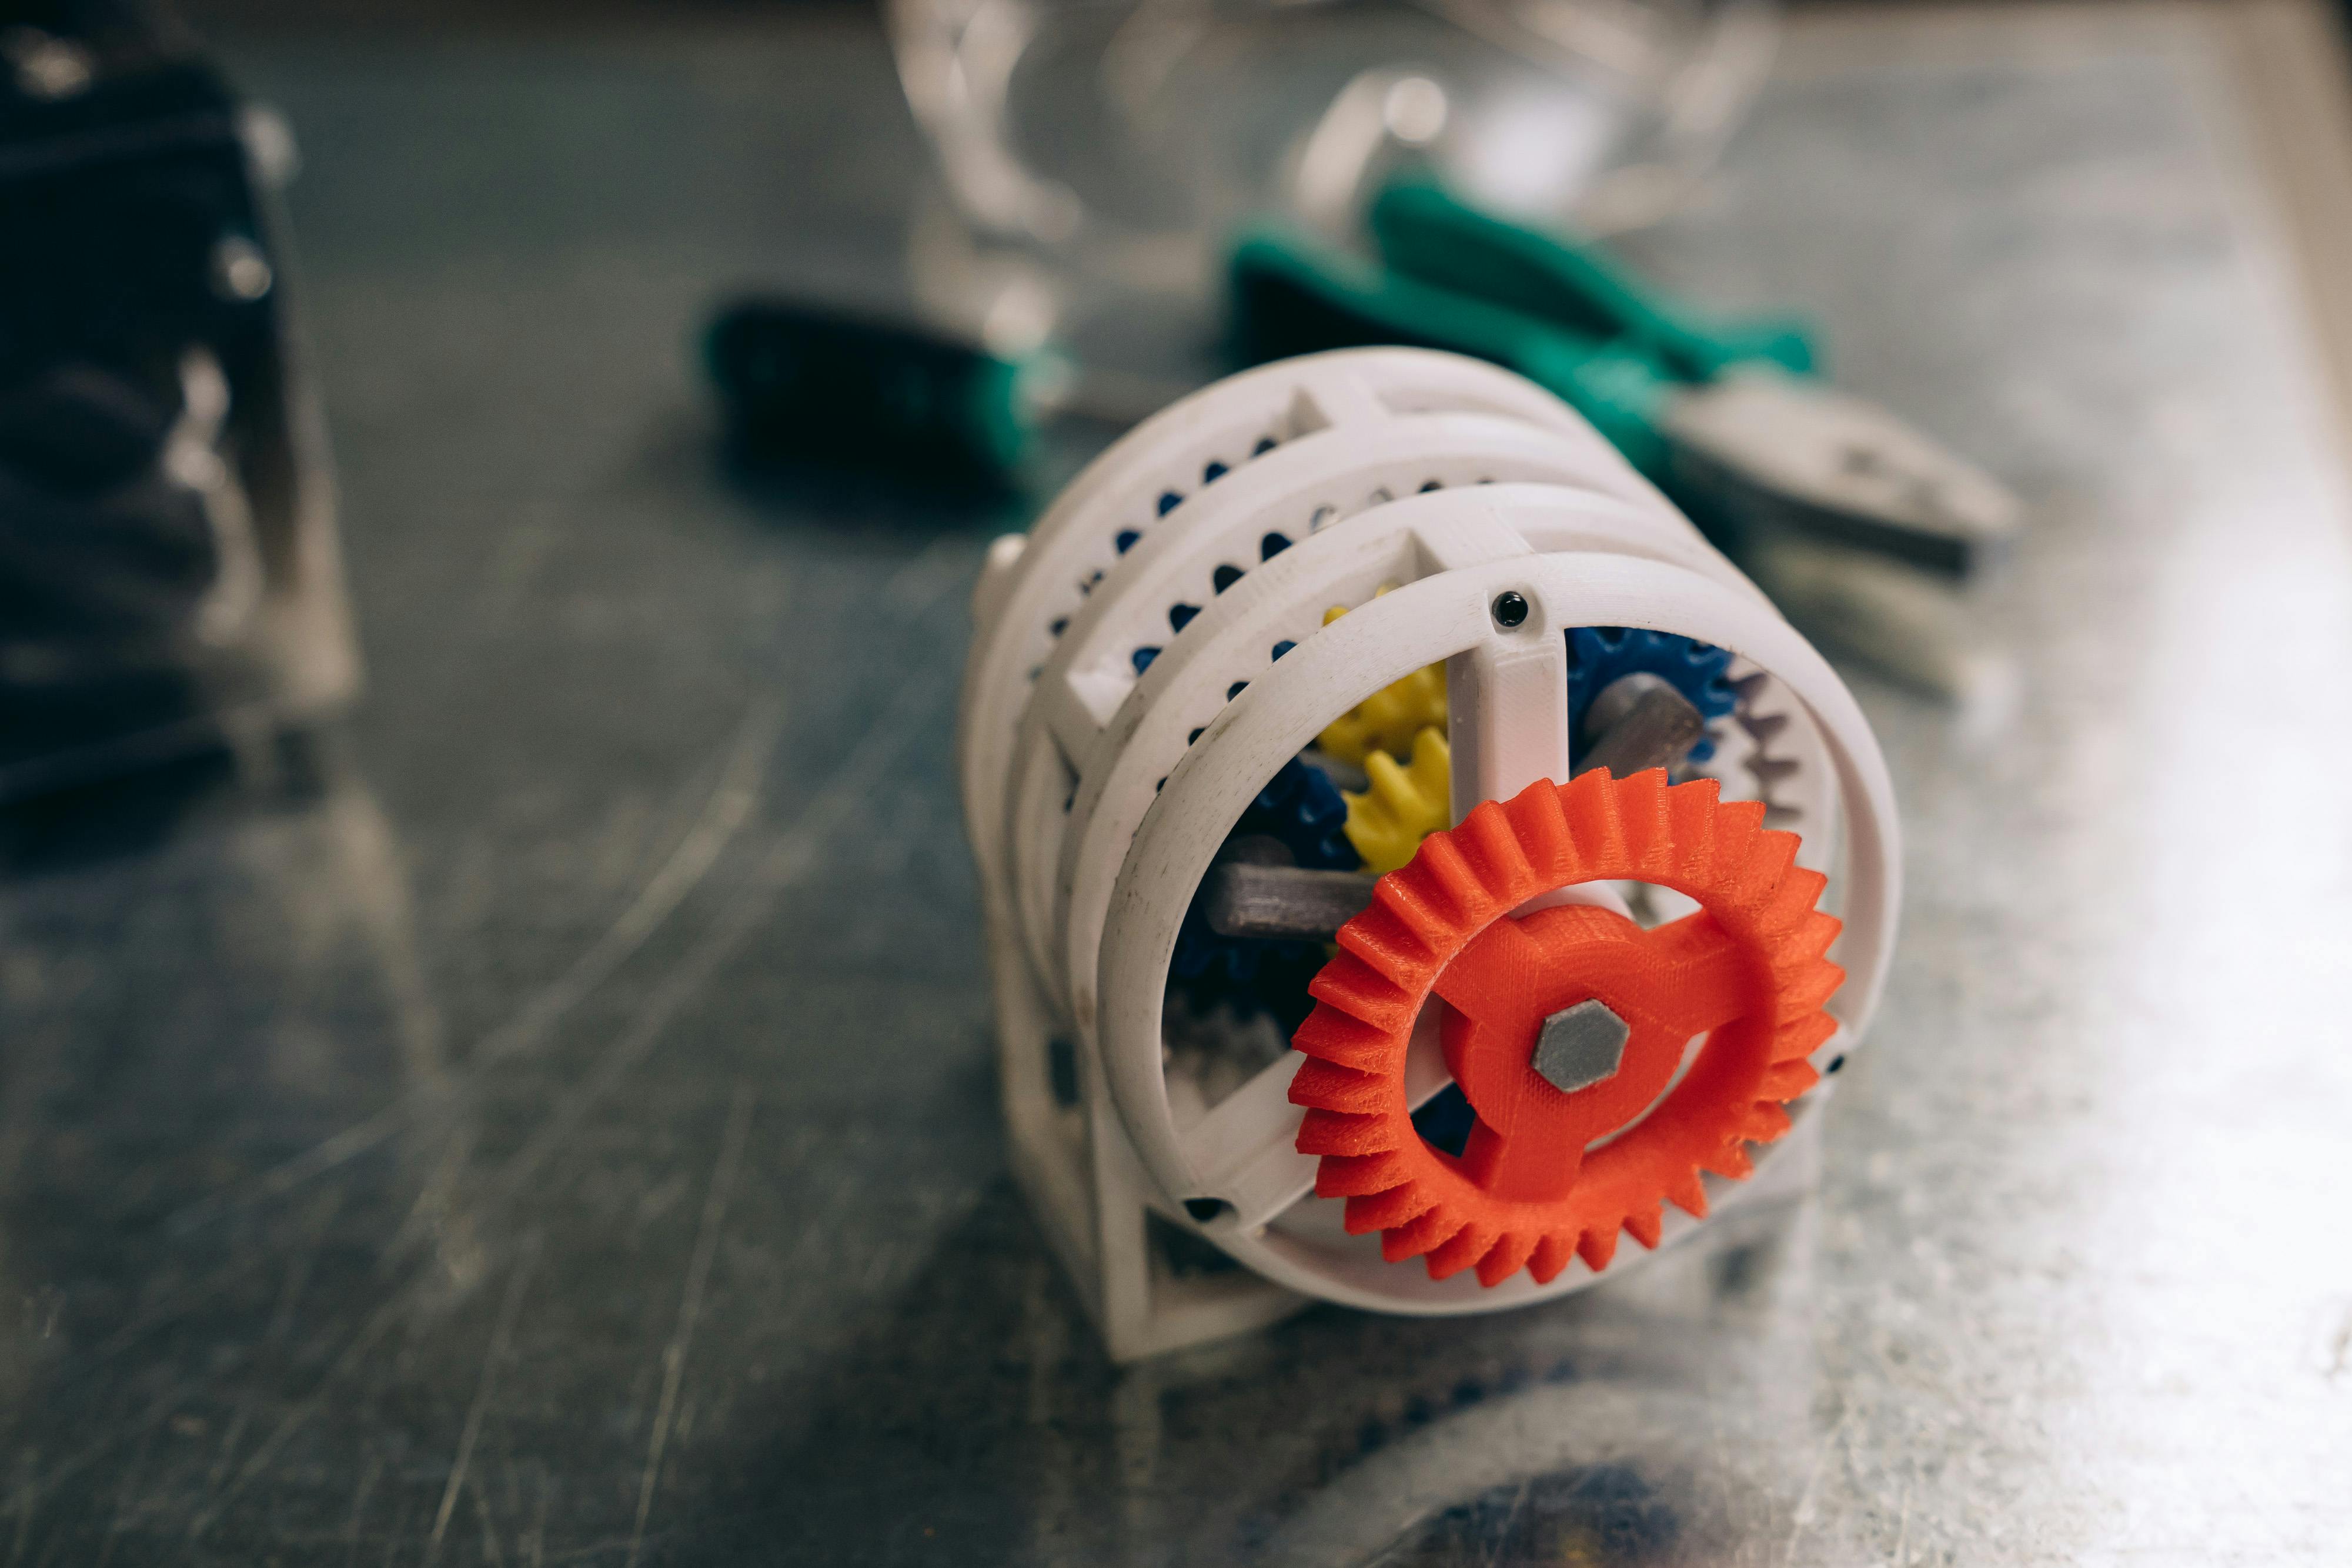
- Clean the extruder gear — filament dust packs into the teeth of the drive gear and causes inconsistent extrusion.
- Re-run bed leveling and calibration — even auto-leveling printers benefit from a fresh manual check and an e-steps and extrusion calibration pass.
Yearly (or Every 1,000+ Print Hours)
- Inspect and replace worn belts — stretched belts cause ghosting and dimensional inaccuracy that no amount of slicer tweaking will fix.
- Check power supply and mainboard — look for dust buildup, discoloration around connectors, or a PSU fan that’s slowing down.
- Update firmware — manufacturers regularly ship stability and safety fixes; check your printer’s official source before flashing.
- Deep-clean the enclosure — if you print ABS or ASA in an enclosed chamber, vacuum out settled dust and check silicone seals.
India-Specific Tips Worth Adding to the List
- Use a dust cover between print jobs, especially if your setup isn’t in a closed room — a simple acrylic or fabric cover cuts down on the dust that reaches your rails and fans.
- Run a voltage stabilizer or UPS — protects stepper drivers and mainboards from the frequent voltage swings common on Indian household circuits, and saves a print from failing mid-job during a power cut.
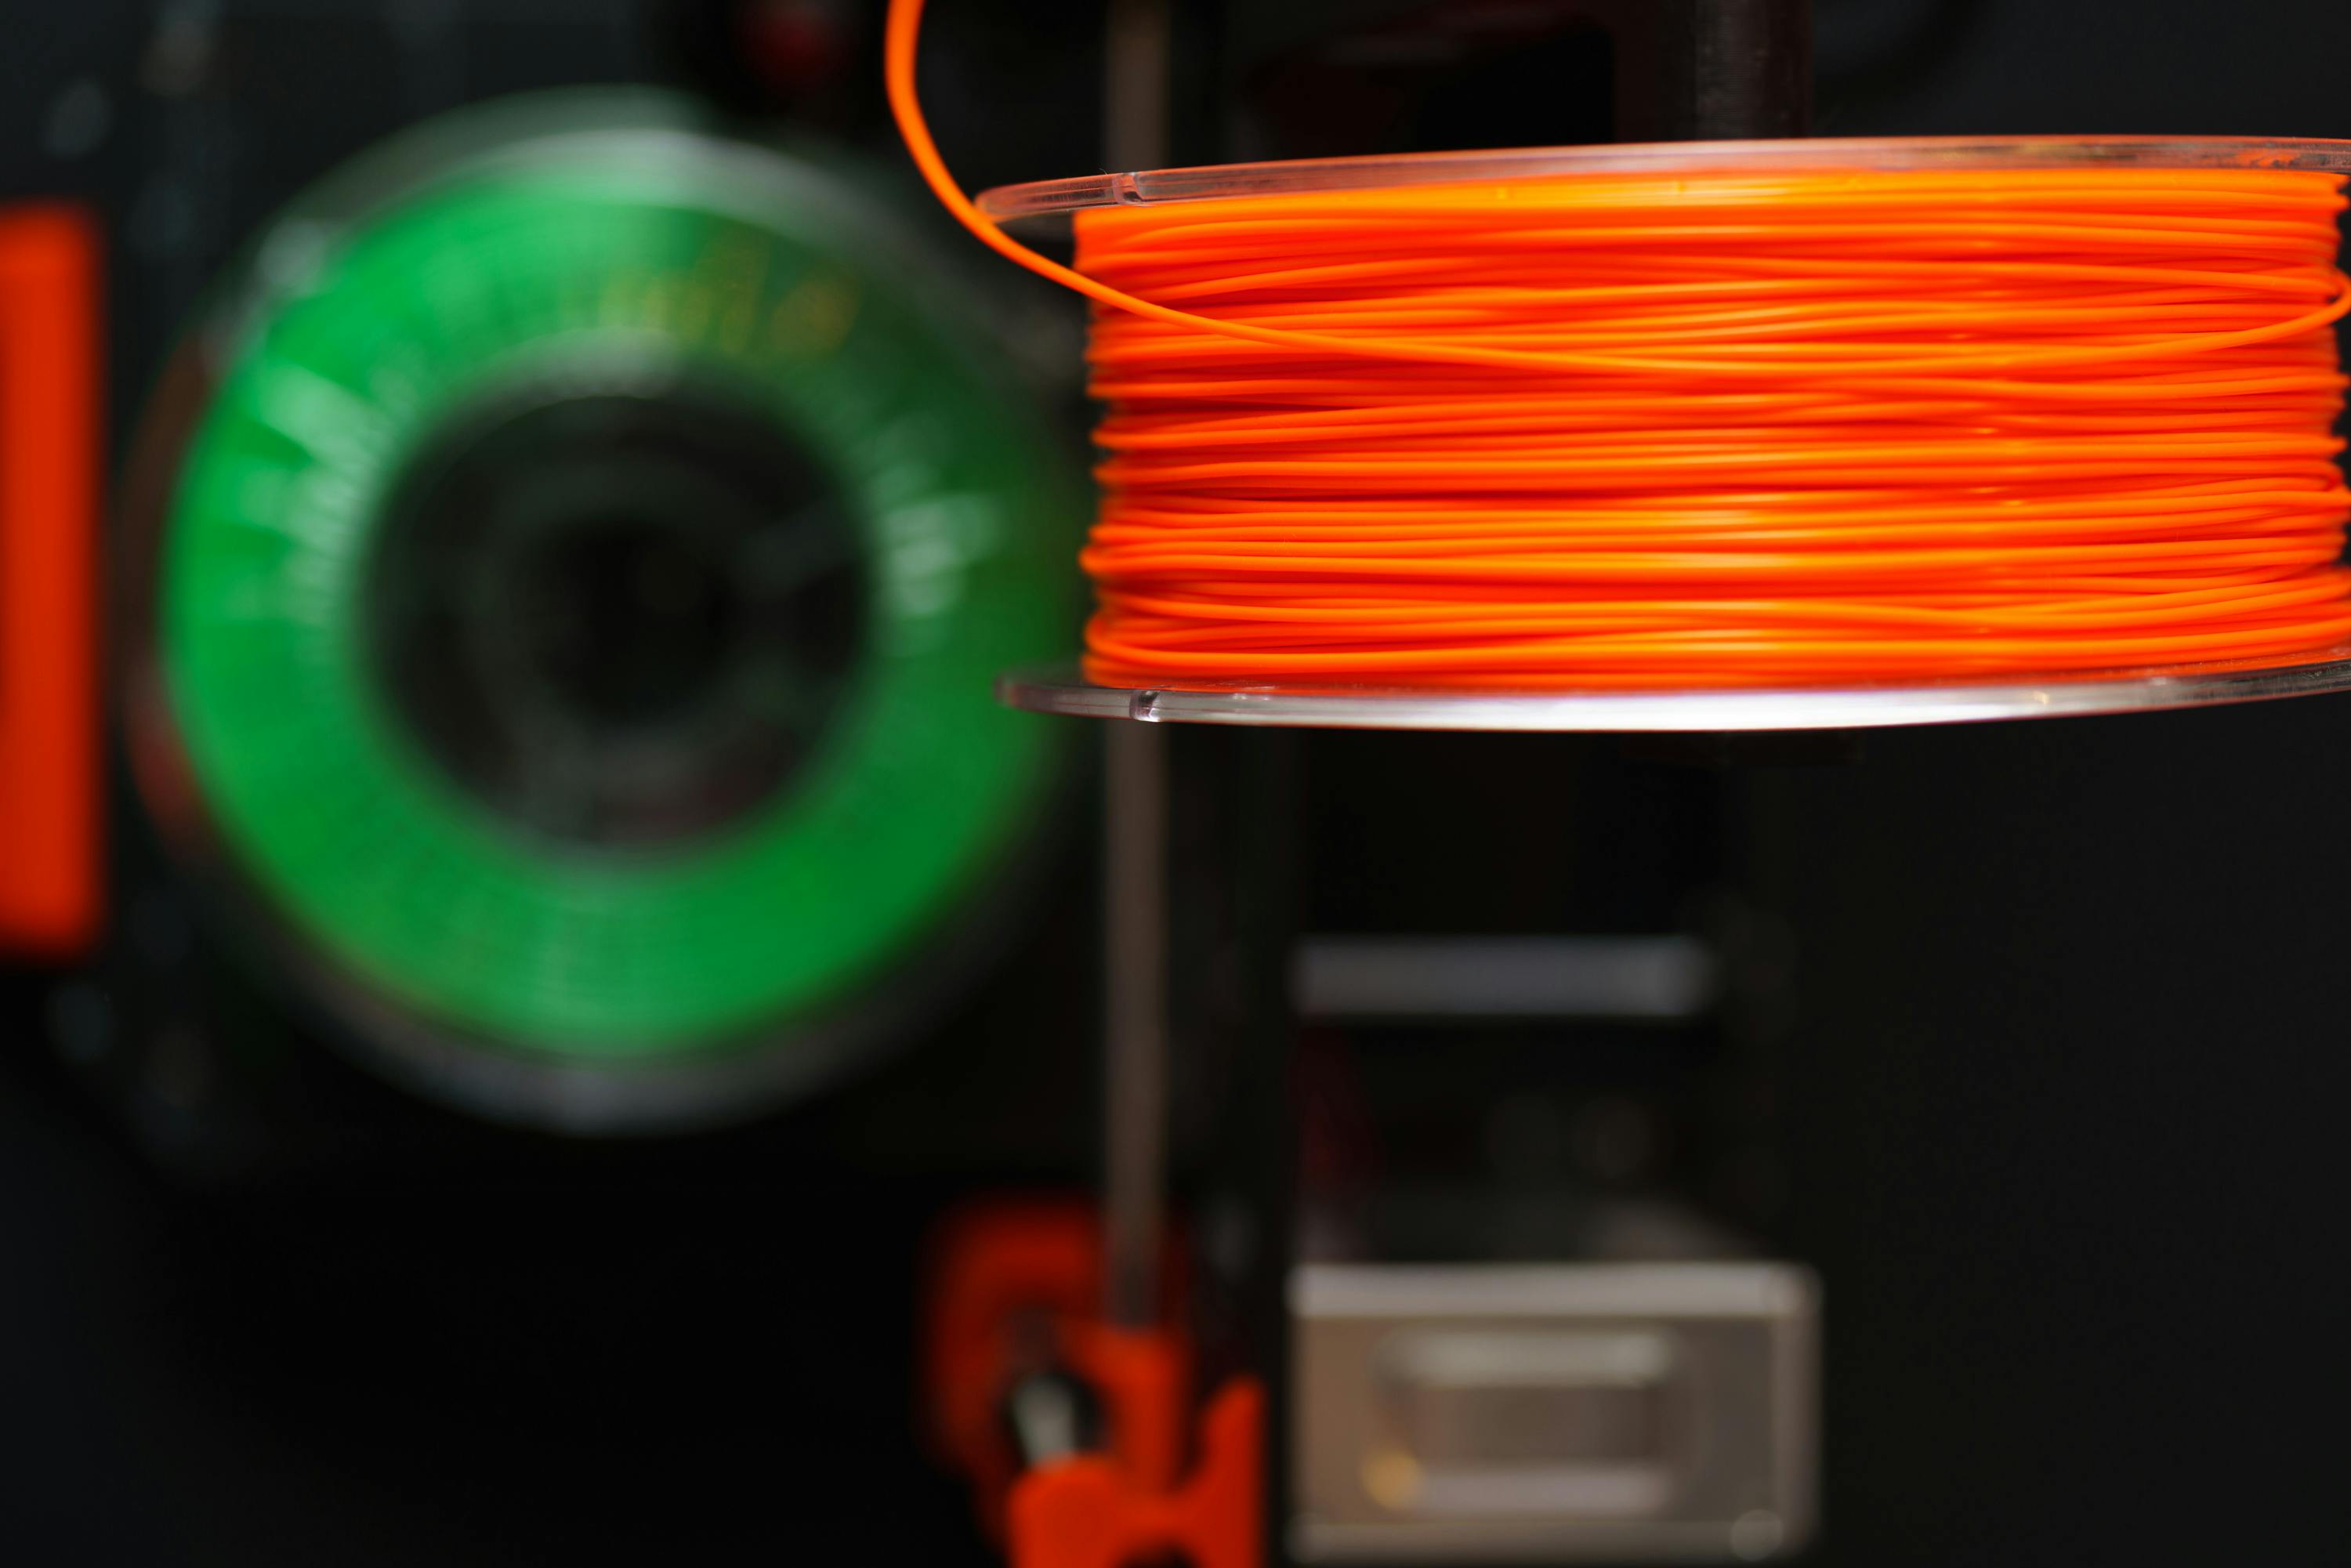
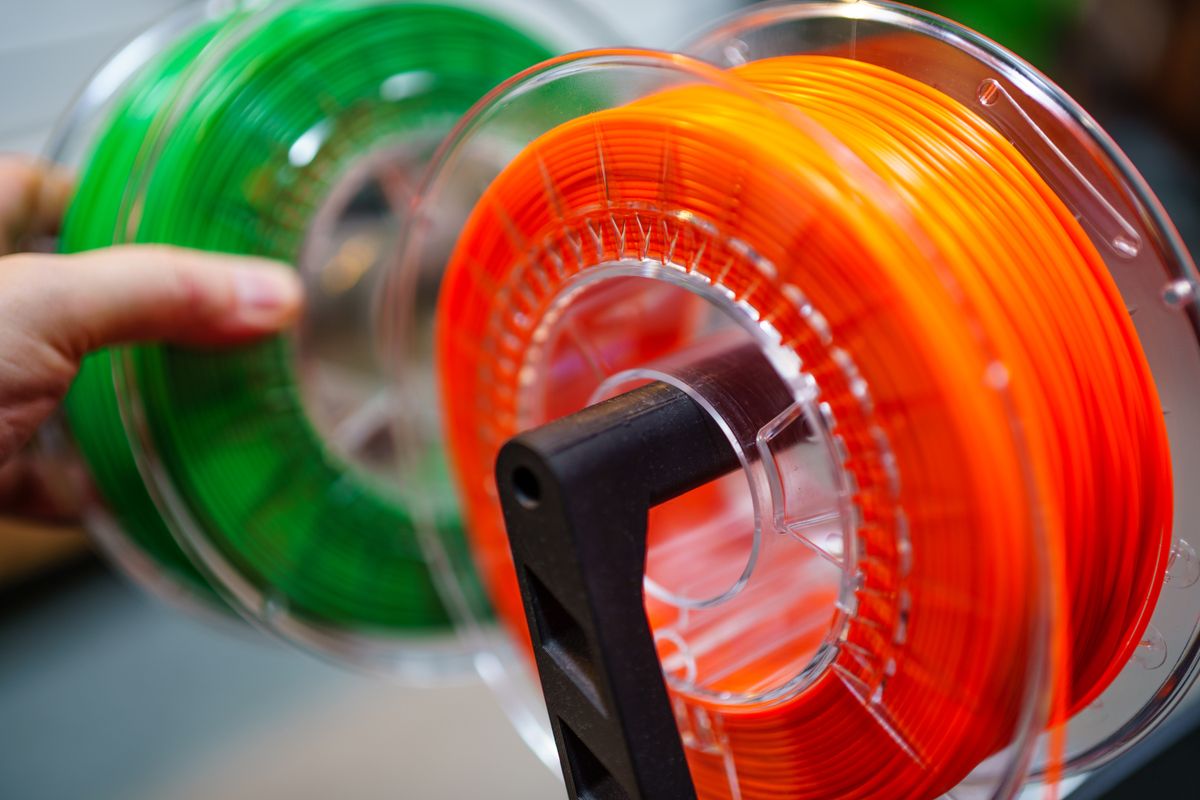
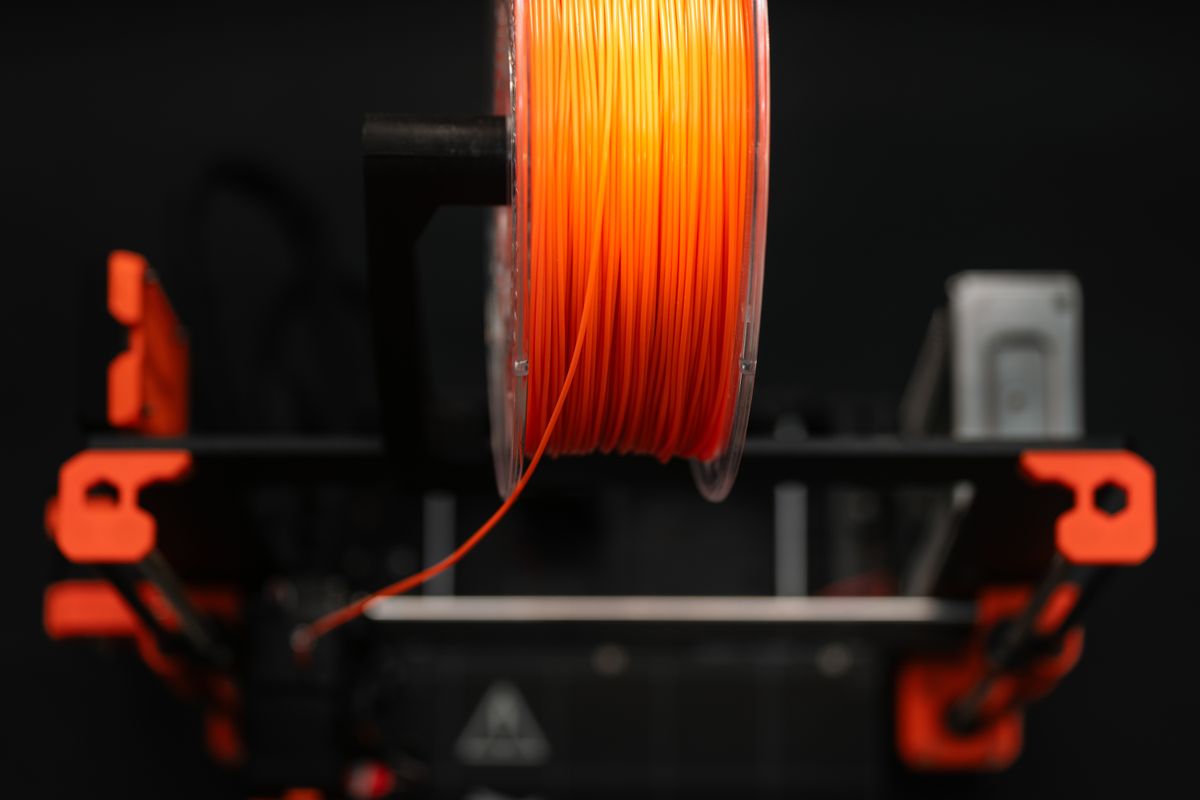
- Store filament in airtight boxes with silica gel — monsoon humidity swells filament diameter enough to cause clogs and poor layer adhesion. If you haven’t read it yet, our filament storage guide covers this in detail.
- Keep the printer away from direct AC or window airflow — sudden temperature swings mid-print cause warping, particularly with ABS and PETG.
Signs Your Printer Needs Attention Right Now
Don’t wait for the schedule if you notice any of these:
- A grinding or clicking sound from the extruder motor
- Layer shifting on prints that used to come out clean
- Inconsistent extrusion — thin, stringy sections mid-print
- A nozzle that won’t reach or hold temperature
- Visible sag or wobble in the gantry when you push it by hand
Any of these usually trace back to a skipped step on this list — worn belts, a dry lead screw, or a clogged nozzle.
Make Maintenance a Habit, Not a Fire Drill
The printers that run for years without major repairs aren’t lucky — they’re maintained on a schedule. Pin this checklist near your printer, set monthly reminders, and you’ll spend far less time troubleshooting failed prints and far more time actually shipping orders.
If your printer needs a part replaced or you’d rather have a professionally maintained machine handle your next print job, browse verified makers on JustPrint.io and get your order printed on equipment that’s cared for properly.