You bought a 3D printer. You’re slicing models in Cura or PrusaSlicer. But every time you hit print, you’re guessing — is 0.2mm layer height the right call? Should infill be 15% or 40%? What happens if you crank up the speed? These are the settings that make or break a print, and most guides skip right over them.
This post breaks down the four most important slicer settings, what they actually do, and when to change them — so you stop guessing and start printing with intent.
What Is a Slicer — and Why Its Settings Matter
A slicer is software that converts your 3D model (usually an STL or 3MF file) into instructions your printer can follow. Tools like Cura, PrusaSlicer, and Bambu Studio are the most popular ones in India right now. The slicer takes your solid model and slices it into hundreds — sometimes thousands — of flat layers, calculating exactly where the nozzle needs to go and at what speed.
Most beginners hit “Slice” with the default settings and hope for the best. That works — until it doesn’t. A figurine needs different settings than a functional bracket. A decorative vase needs different settings than an engineering prototype. Understanding what each setting does lets you dial in the right trade-offs for every job.
Layer Height: The Single Biggest Quality Lever
Layer height is the thickness of each individual printed layer, measured in millimetres. It’s the fastest way to trade print time against surface quality.
- 0.1mm (Fine): Slow but smooth. Best for miniatures, figurines, or any model where surface detail matters.
- 0.2mm (Standard): The sweet spot for most prints. Good balance of quality and speed — this is the default in most slicers for good reason.
- 0.3mm (Draft): Fast and functional. Great for rapid prototyping, internal parts, or any print where fit matters more than finish.
- 0.4mm+ (Super Draft): Only for very large, blobby shapes. Layer lines will be very visible and inter-layer bonding gets weak.
Rule of thumb: Layer height should be between 25% and 75% of your nozzle diameter. With a standard 0.4mm nozzle, your safe range is 0.1mm–0.3mm. Go outside this and you start seeing adhesion problems.
One thing beginners often miss: thinner layers mean more layers and longer print time — but they also change how layers bond. If you’re printing something functional (a bracket, a clip, a housing), 0.2mm is almost always the right call. Save 0.1mm for art pieces and detailed models where surface smoothness justifies the extra hours.
Infill: More Isn’t Always Better
Infill is the internal structure of your print — the lattice printed inside the outer walls. It’s expressed as a percentage. Zero percent means hollow. 100% means solid plastic all the way through.
Here’s what different infill percentages mean in practice:
- 10–15%: Decorative items, figurines, things that won’t bear any load. Minimum filament use.
- 20–25%: General-purpose prints — phone stands, desk organisers, small containers. This is the most common setting for everyday printing.
- 40–60%: Functional parts that handle stress — mounting brackets, tool holders, custom enclosures.
- 80–100%: Engineering applications and load-bearing parts. Expensive in filament and print time — only use when genuinely needed.
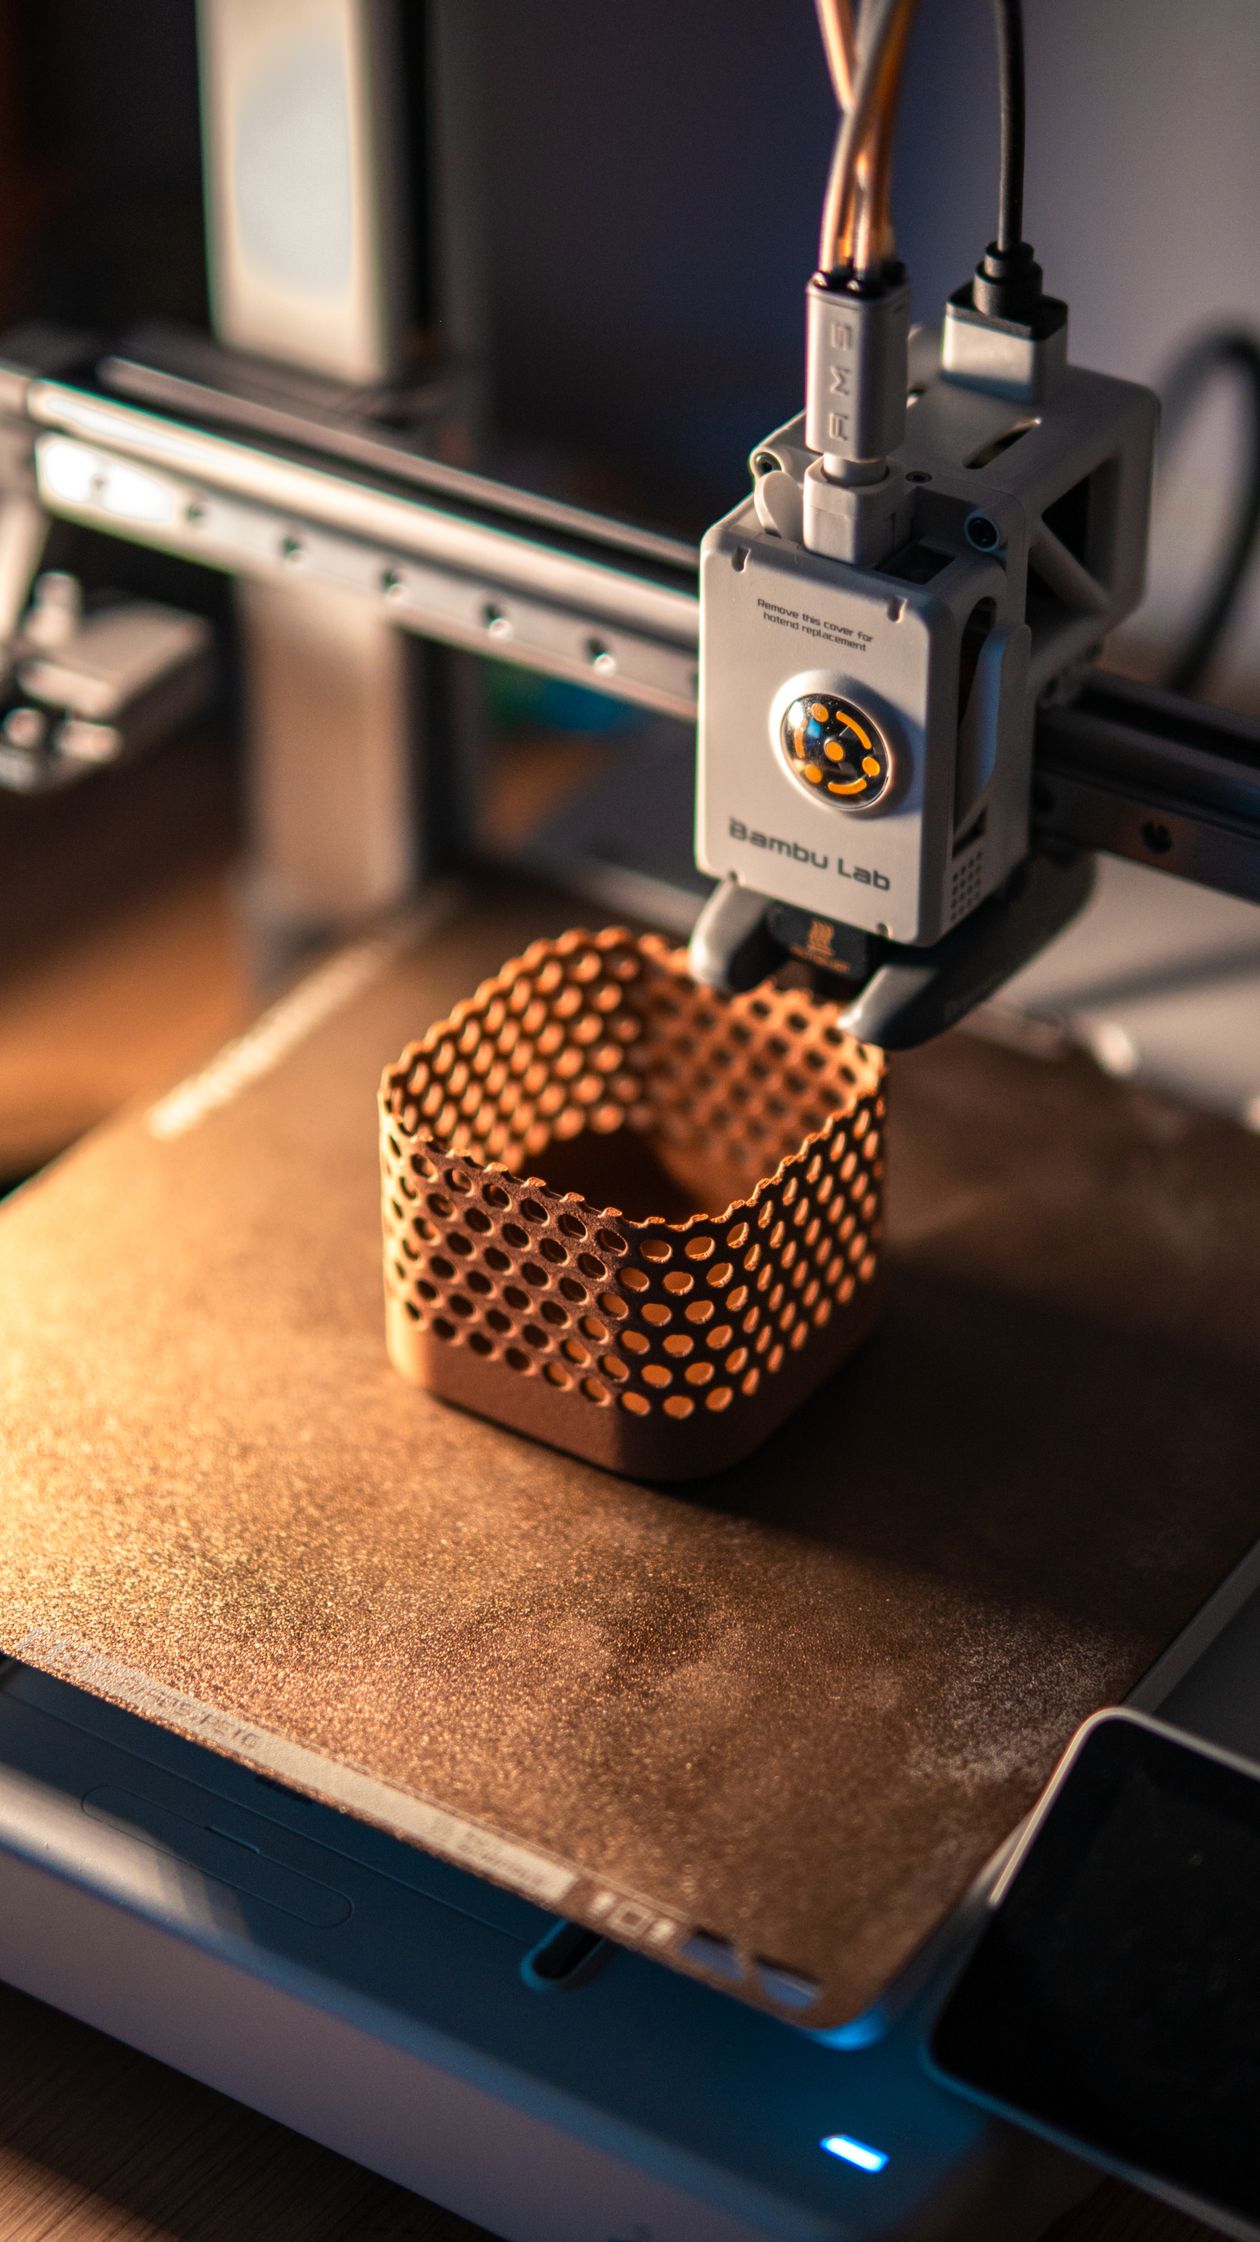
The infill pattern also matters. Grid infill is fast to print. Gyroid and honeycomb are slower but handle stress from multiple directions better. For most prints, grid or lines at 20% is perfectly fine.
The hidden cost: Infill directly drives filament consumption — and therefore your cost per print. If you’re running a print service on JustPrint, getting infill right isn’t just about quality; it’s about not burning through your spool unnecessarily on every job.
Print Speed: The Trade-off Between Time and Quality
Print speed is measured in millimetres per second (mm/s). Faster sounds better — until problems show up.
At high speeds, a few things go wrong:
- The hotend doesn’t have time to melt filament fully — causing under-extrusion and gaps
- The motion system (belts, rods) vibrates — creating “ringing” or ghosting artifacts on the print surface
- Layers don’t bond as well — the final print is weaker overall
Practical starting points by printer type:
- 40–60 mm/s: Safe default for most FDM printers. Good quality, reasonable time.
- 80–120 mm/s: Modern printers with good hardware (Bambu X1, Prusa MK4) can handle this with minimal quality loss.
- 150+ mm/s: Only for draft prints on printers specifically tuned for high speed — input shaper calibrated, all-metal hotend, etc.
A note for Indian makers: Power fluctuations can disrupt long prints. A reliable 6-hour print at moderate speed is often safer than a 4-hour run that fails at hour 3 when voltage dips. Speed up — but know your setup and consider a UPS for your printer.
Putting It All Together: Settings for Common Use Cases
Here’s a quick-reference cheat sheet by print type:
- Decorative figurine / toy: Layer 0.1mm · Infill 10–15% · Speed 40 mm/s
- General household item: Layer 0.2mm · Infill 20% · Speed 50–60 mm/s
- Functional bracket or clip: Layer 0.2mm · Infill 40% · Speed 50 mm/s
- Rapid prototype / test fit: Layer 0.3mm · Infill 15% · Speed 80 mm/s
- Engineering / load-bearing part: Layer 0.15–0.2mm · Infill 60–80% · Speed 40–50 mm/s
These are starting points, not rules. Every printer, every filament brand, and every ambient temperature behaves slightly differently. Print a small 20mm test cube at your target settings before committing to a multi-hour job.
Selling on JustPrint? Your Slicer Settings Are Part of Your Pricing
If you’re taking orders on JustPrint.io, your slicer settings directly affect your cost per print — and your margins. An unnecessarily high infill wastes filament. A fine layer height adds hours of print time. Getting these settings right for each job type means:
- More predictable print times → more accurate delivery estimates for customers
- Less filament waste → better margins on budget orders
- Fewer failed prints → better reviews and repeat business
Take 30 minutes to build a saved settings library in your slicer — one profile per product category you commonly print. It pays back on every order from that point forward.
Ready to turn your 3D printer into a business? List your printer on JustPrint.io and start accepting orders from customers across India — no subscription fees, no minimum order requirements.