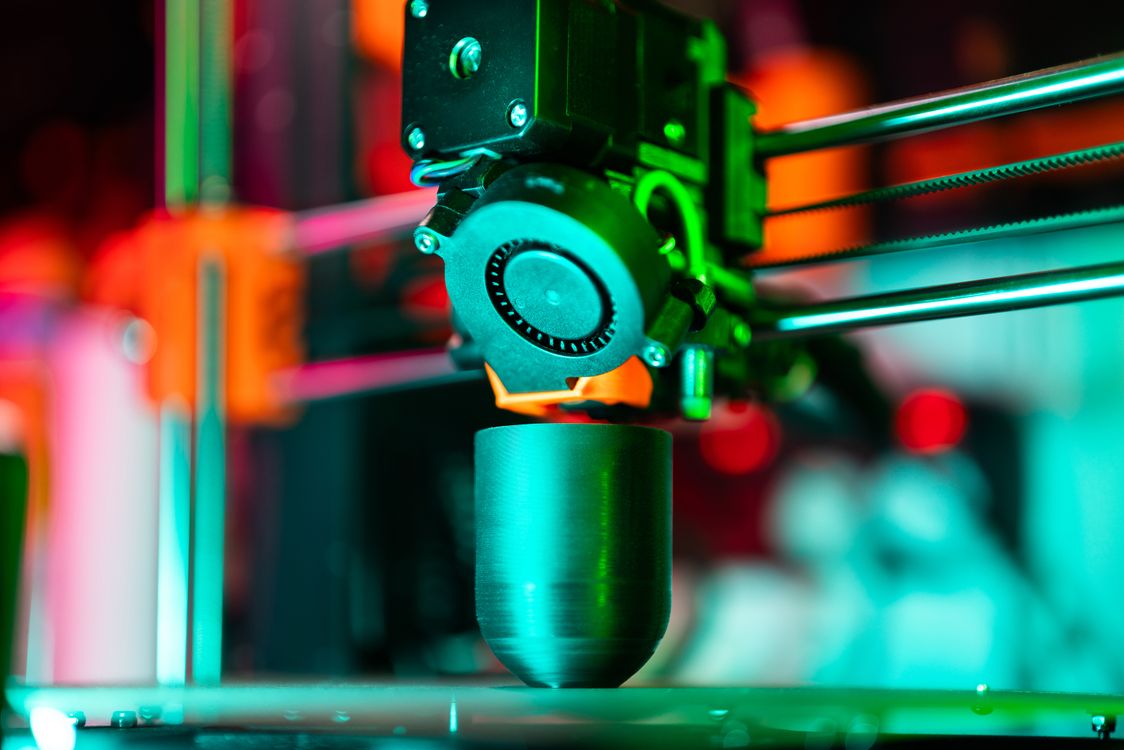
Your 3D print just came off the bed. The geometry is right, the dimensions are spot-on — and it looks terrible. Layer lines, support scars, rough surfaces. That gap between a raw print and something you’d actually hand to a customer? That’s post-processing. Learning to post-process 3D prints is what separates hobbyists from makers who build real products.
The good news: finishing is learnable. You don’t need a professional spray booth or imported chemicals. With the right techniques and supplies available at your local hardware store or Amazon.in, you can take a ₹200 print and make it look like it came out of a mould.
This guide covers everything — from pulling off supports to applying a final clear coat — for both FDM and resin printers. Whether you’re printing for yourself or selling on JustPrint.io, this is the workflow that makes the difference.

Why Post-Processing Matters
FDM prints build objects layer by layer, and those layers show. Standard 0.2mm layer height leaves visible ridges that feel rough to the touch and look unfinished under any light. Resin prints come out smoother but still carry print lines, support attachment marks, and a sticky, uncured surface that needs cleaning.
Post-processing closes that gap. A well-finished print is stronger (priming seals micropores), looks professional, and commands a higher price. If you’re selling printed parts or prototypes, finishing is not optional — it’s the product.
There’s also a practical side: some applications require it. Functional parts that mate with other components need smooth mating surfaces. Display models need paint. Figurines need detail-preserving primer. Learning to post-process 3D prints is a core skill, not an afterthought.
What You’ll Need
Stock up before you start. Here’s a practical list with sourcing notes for India:
- Sandpaper — Get a variety pack: 120, 220, 400, 800, and 1200 grit. Available at any hardware store or Amazon.in for under ₹200 for an assortment.
- Needle-nose pliers and flush cutters — For removing supports cleanly. Standard electrician’s pliers work fine.
- Hobby knife (X-Acto style) — For trimming support nubs and surface artifacts. Available at art supply stores and Amazon.in.
- Isopropyl alcohol (IPA), 99% — Critical for resin cleaning. Available at pharmacies and electronics suppliers. Look for it under “isopropyl alcohol” or “rubbing alcohol” — 70% versions are too diluted.
- Grey primer spray can — Rust-Oleum or Asian Paints Apcolite spray primer work well. ₹250–400 at hardware stores or Amazon.in.
- Acrylic paints — Pidilite Fevicryl is widely available, affordable, and works well on PLA and resin. For spray application, look for Rustoleum 2X or Motip at auto parts stores.
- Clear coat / varnish — Matte or gloss finish spray. Prevents paint from chipping and adds durability.
- UV lamp (for resin) — A ₹300–500 UV nail lamp from Amazon.in does the job for post-curing resin prints.
- Respirator and gloves — Non-negotiable for resin work and spray painting. Resin is toxic uncured. A basic N95 works for dust; a half-face respirator with organic vapour cartridges for fumes.
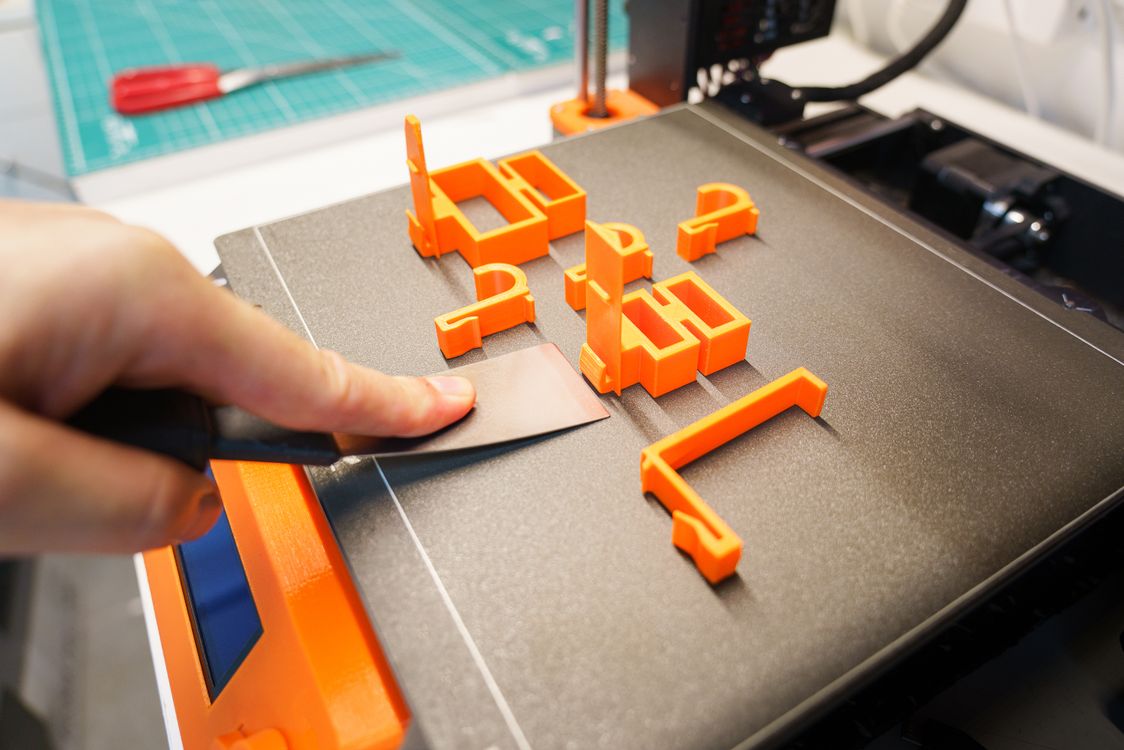
Step 1 — Removing Supports and Cleaning Up
Start here before you touch sandpaper. Rushing support removal damages the print surface and creates more work.
- For FDM prints: Let the print cool completely before removal — warm PLA flexes and warps. Use flush cutters to snip supports close to the surface, then use a hobby knife to trim remaining nubs flat. Work at an angle to avoid gouging.
- For resin prints: Wear nitrile gloves always. Remove supports before post-curing — uncured resin is flexible and supports snap off cleanly. After removal, wash the print in IPA for 3–5 minutes (an ultrasonic cleaner speeds this up dramatically), then let it dry fully before UV curing.
- Inspect carefully: Hold the print under a bright light and rotate it. Look for support attachment scars, stringing (FDM), and layer shifts. Mark problem areas with a pencil — you’ll target these during sanding.
Patience here pays off. A clean support removal job means less sanding and better final results.
Step 2 — Sanding Your Print
Sanding is where most of the surface quality improvement happens. The process is the same for FDM and resin in principle, but the starting point differs.
FDM Prints
Start at 120 grit to knock down layer lines and support scars. Sand in small circular motions — don’t focus pressure in one spot or you’ll create divots. Move to 220 grit to smooth out the scratches from 120. Then 400, 800, and finally 1200 for a near-smooth finish.
Wet sanding (dipping the paper in water as you go) dramatically reduces dust and produces a smoother finish from 400 grit onwards. It’s the difference between a dull matte surface and something that takes primer evenly.
For detailed areas or tight geometry, wrap sandpaper around a popsicle stick or use sanding sponges for contours. Don’t sand detail away — thin features and sharp edges need a light hand.
Resin Prints
Resin comes off smoother than FDM, so start at 220 or 320 grit instead of 120. The goal here is mostly removing support marks and any surface texture from the FEP film. Move up to 800–1200 for a glass-smooth surface. Wet sanding is especially effective on resin.
One important note: sanded resin dust is hazardous. Always sand resin wet to prevent airborne particles, and wear your respirator.
Step 3 — Priming and Painting

Never skip primer. Primer seals the surface, reveals remaining flaws, and gives paint something to grip. A paint job without primer peels.
- Clean the surface: Wipe with IPA before priming to remove finger oils and dust. Even a light fingerprint will show under primer.
- Apply primer in thin coats: Hold the can 25–30cm away, use sweeping passes, and apply 2–3 thin coats rather than one thick coat. Let each coat dry for 10–15 minutes. Thick coats run and hide detail.
- Inspect and sand again: Once the primer is fully dry (30–60 minutes), examine the surface. Any remaining flaws show up clearly on grey primer. Sand at 800–1200 grit, wipe clean, and re-prime if needed.
- Apply colour coats: Same technique — thin passes, multiple coats. Acrylic spray or hand-brushed Fevicryl acrylics both work. For hand painting, thin the paint slightly with water for better flow and avoid brush marks.
- Seal with clear coat: Once paint is fully cured (24 hours for best results), apply a matte or gloss clear coat. This protects the paint and gives you control over the final sheen.
Advanced Finishing Techniques
Once you’ve mastered the basics, these techniques take prints to another level:
Acetone Smoothing for ABS
ABS plastic dissolves slightly in acetone vapour, and a controlled exposure smooths layer lines chemically without sanding. Place the print on a platform inside a sealed container with a small amount of acetone (not touching the print). The vapour does the work in 30–60 minutes. The result is a nearly injection-moulded surface. Important: this only works for ABS, not PLA or PETG. Acetone is flammable — work outdoors or in a well-ventilated space away from heat sources. Acetone is available at hardware stores and chemists across India for under ₹100/litre.
Epoxy Coating
Two-part epoxy coatings (such as XTC-3D or locally available Fevicol Epoxy and similar products) can be brushed directly onto FDM prints. The epoxy fills layer lines and cures to a hard, paintable surface. Mix small amounts, brush on quickly, and rotate the part to prevent drips. Available on Amazon.in under “two-part epoxy coating.”
UV Resin Clear Coat
Brush a thin layer of UV resin over a sanded print and cure it under a UV lamp. This adds a hard, glossy finish and fills minor surface imperfections. Especially effective on resin prints and small detailed models.
Tips for JustPrint Sellers: Deliver Quality, Charge Appropriately
If you’re listing prints on JustPrint.io, finishing is your competitive edge. Raw prints are a commodity. Finished prints are a product.
- Photograph your samples finished: Finished prints photograph dramatically better and justify higher listing prices.
- Price in finishing time honestly: Sanding a medium-complexity FDM print to paint-ready takes 30–60 minutes of actual work. Charge for that time. A ₹300 print with ₹150 of finishing labour and ₹80 of materials is a ₹530–600 product — not a ₹300 one.
- Offer finishing as an option: List raw prints at base price, then offer sanded, primed, or painted versions as upgrades. Many customers will gladly pay.
- Be consistent: Document your finishing process so every order looks the same. Repeatability is what turns a side project into a business.
- Make in India advantage: Local raw material costs (sandpaper, Fevicryl, IPA, primer) are a fraction of what makers pay in the US or Europe. That cost advantage, combined with skilled finishing, is a genuine competitive edge.
Start Finishing, Start Selling
Post-processing 3D prints isn’t complicated — it’s just systematic. Sand progressively, prime before painting, seal when done. The tools are cheap, the supplies are local, and the results compound: each finished part teaches you something that makes the next one faster.
Whether you’re a maker building prototypes, a hobbyist making display pieces, or a seller on JustPrint.io growing your business — finishing is the skill that makes your prints worth showing.
Ready to sell finished-quality prints? List your capabilities on JustPrint.io — India’s marketplace for 3D printing. Buyers are already there looking for makers who deliver product-grade quality.